


This is a how to of how I make books. I do it very differently from other people. For one, I don’t have that loom-like contraption that most books on hand-binding feel is essential. The books I make are around 3X4 inches, so I am able to hold the entire block in my hands easily.
1. Paper: Paper is the most expensive part, so I make small books, and buy sketchpads on sale.
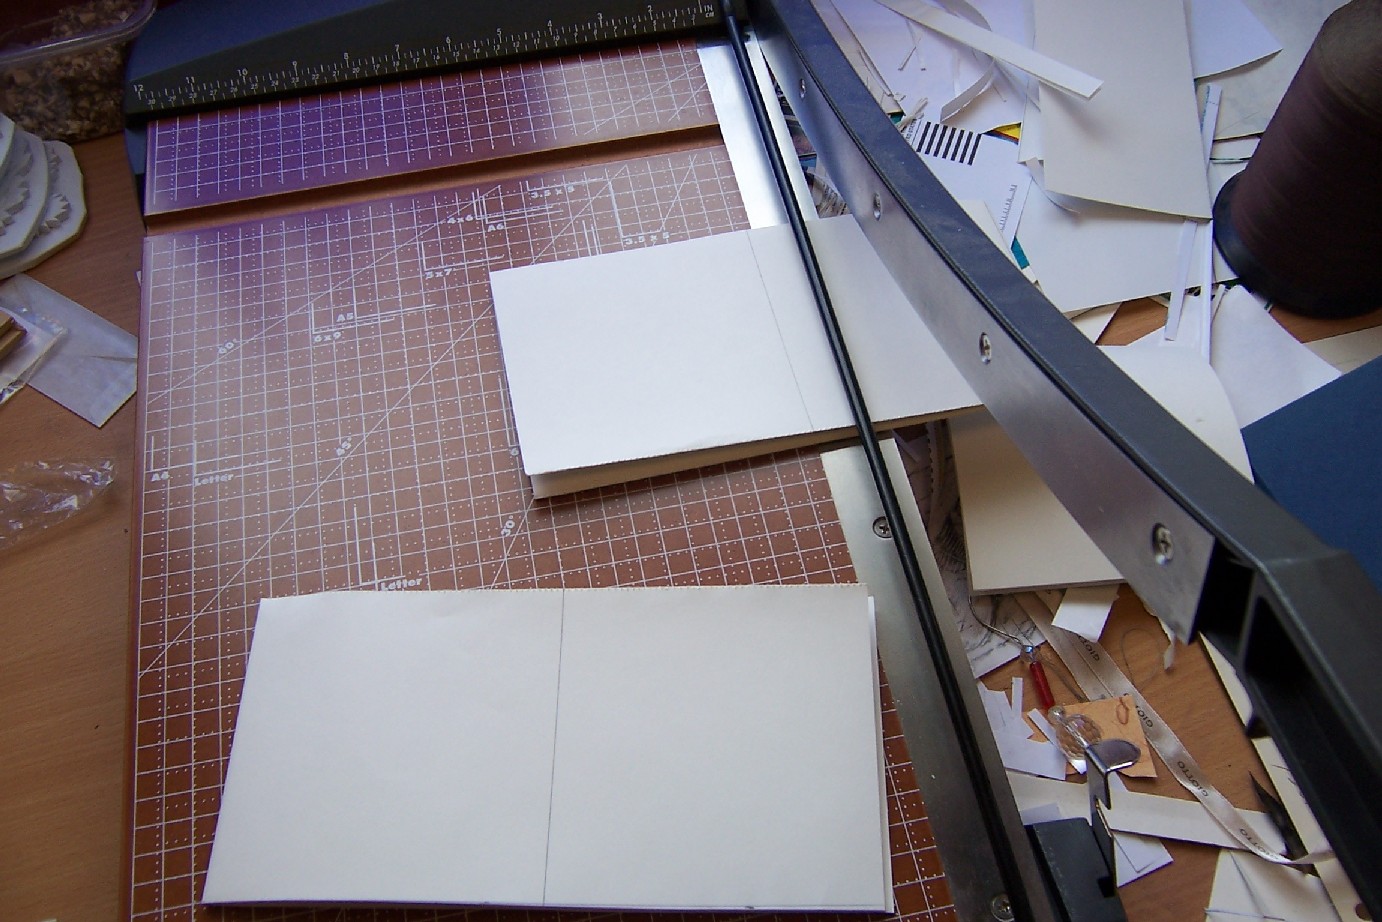
2. Cutting the Paper: I used to do this by hand, or with a mat cutter, but the guillotine cutter saves lots of time. It’s not as accurate, but that’s why I trim later.
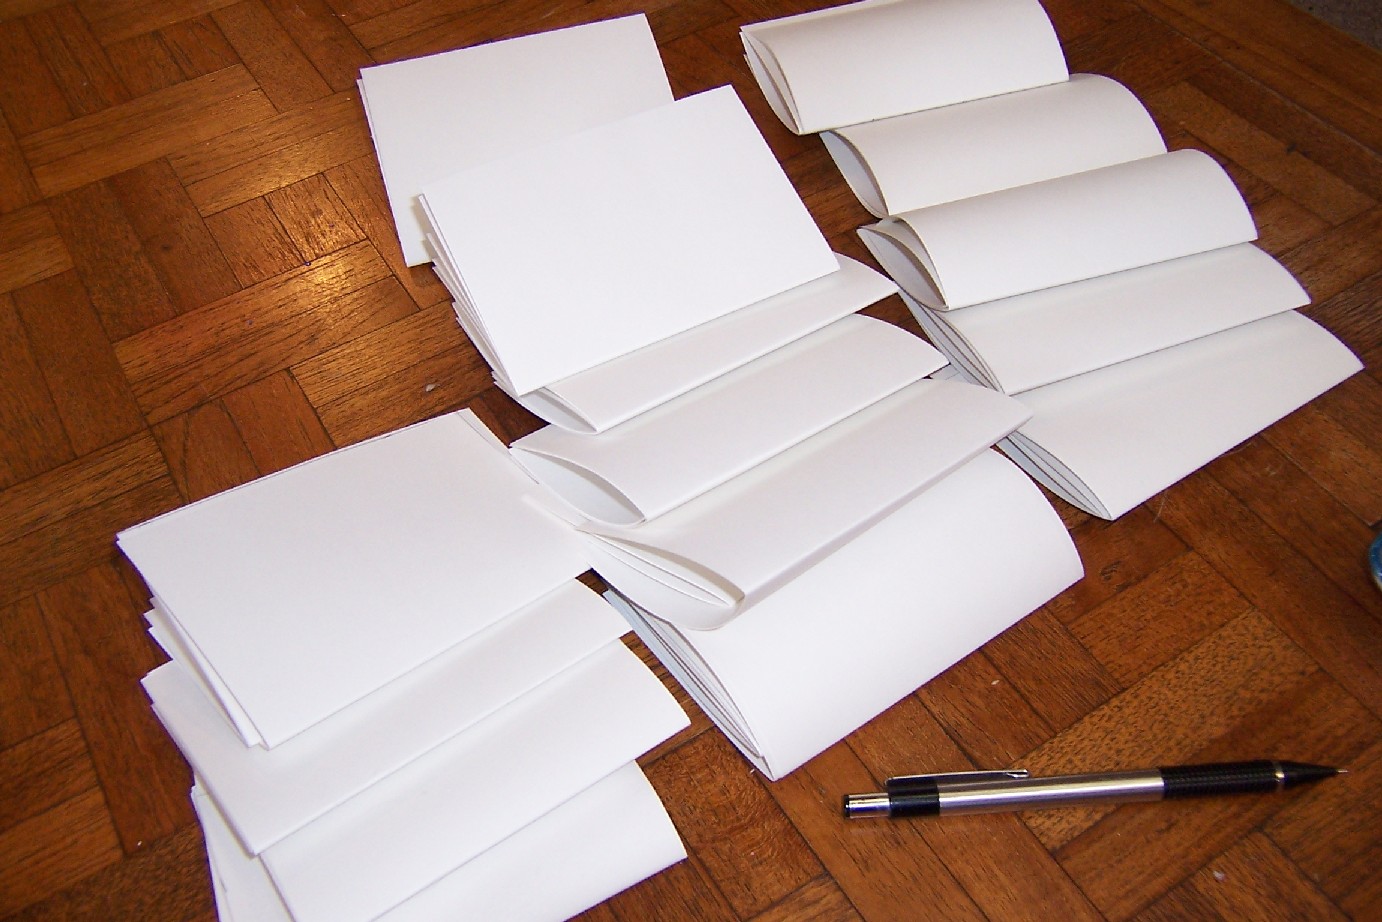
3. Folding the signatures: I use six signatures of six sheets each. They have to be folded over together and creased with a bone folder. My ‘bone folder’ is a piece of buffalo horn that I got as a ceramics tool.
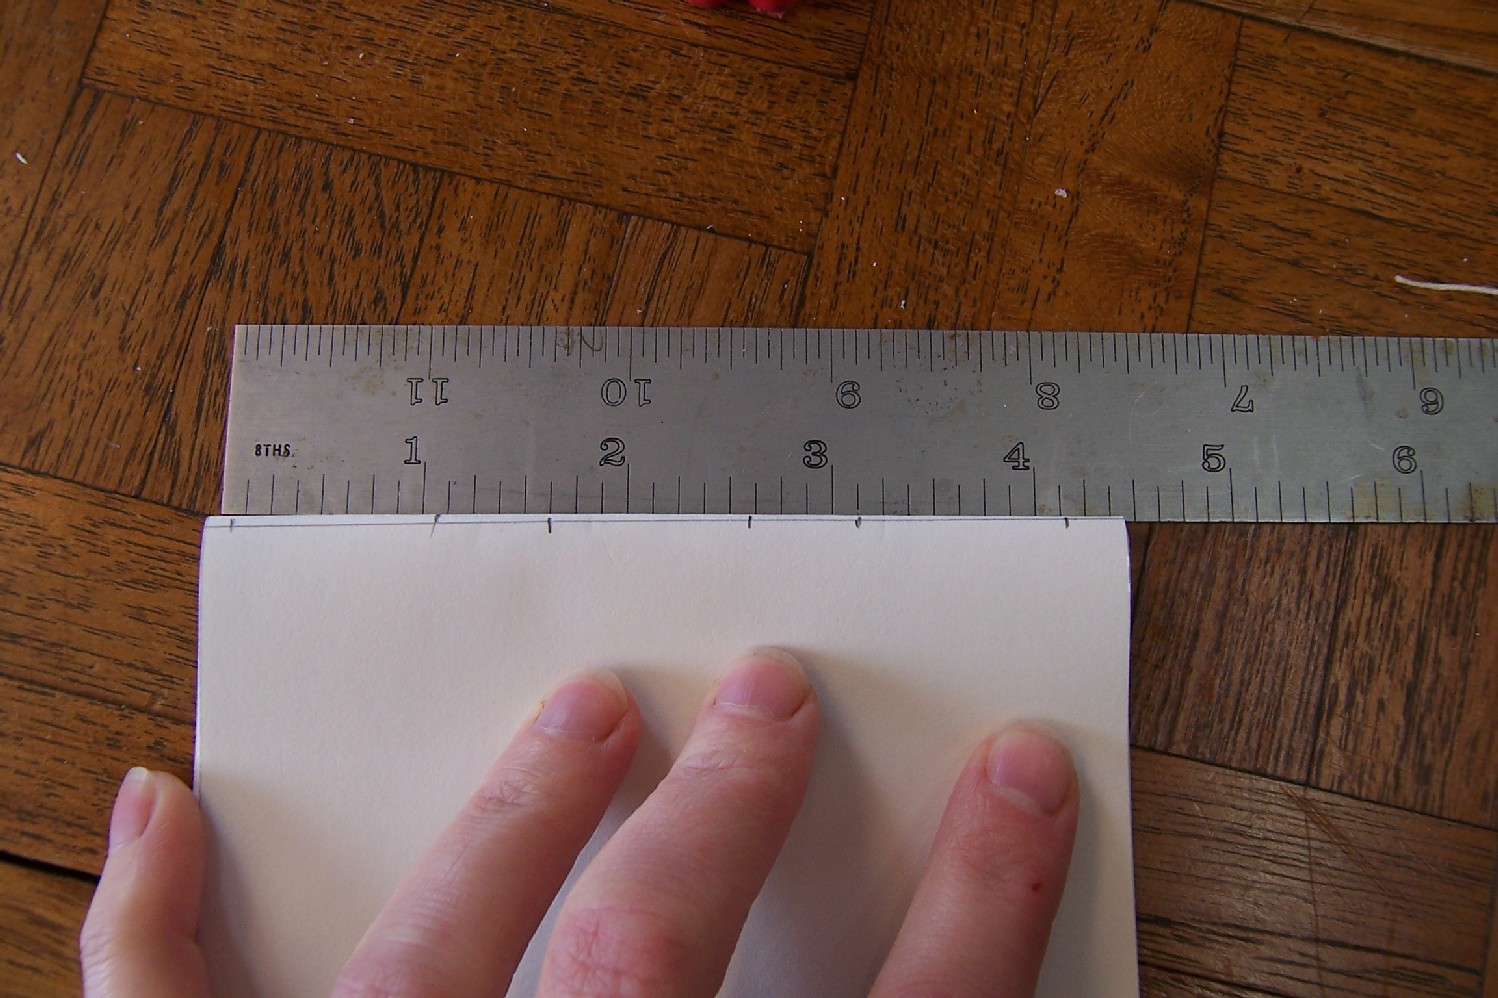
4. Marking the signatures: I try to leave a quarter inch at either end so I have extra for trimming later.
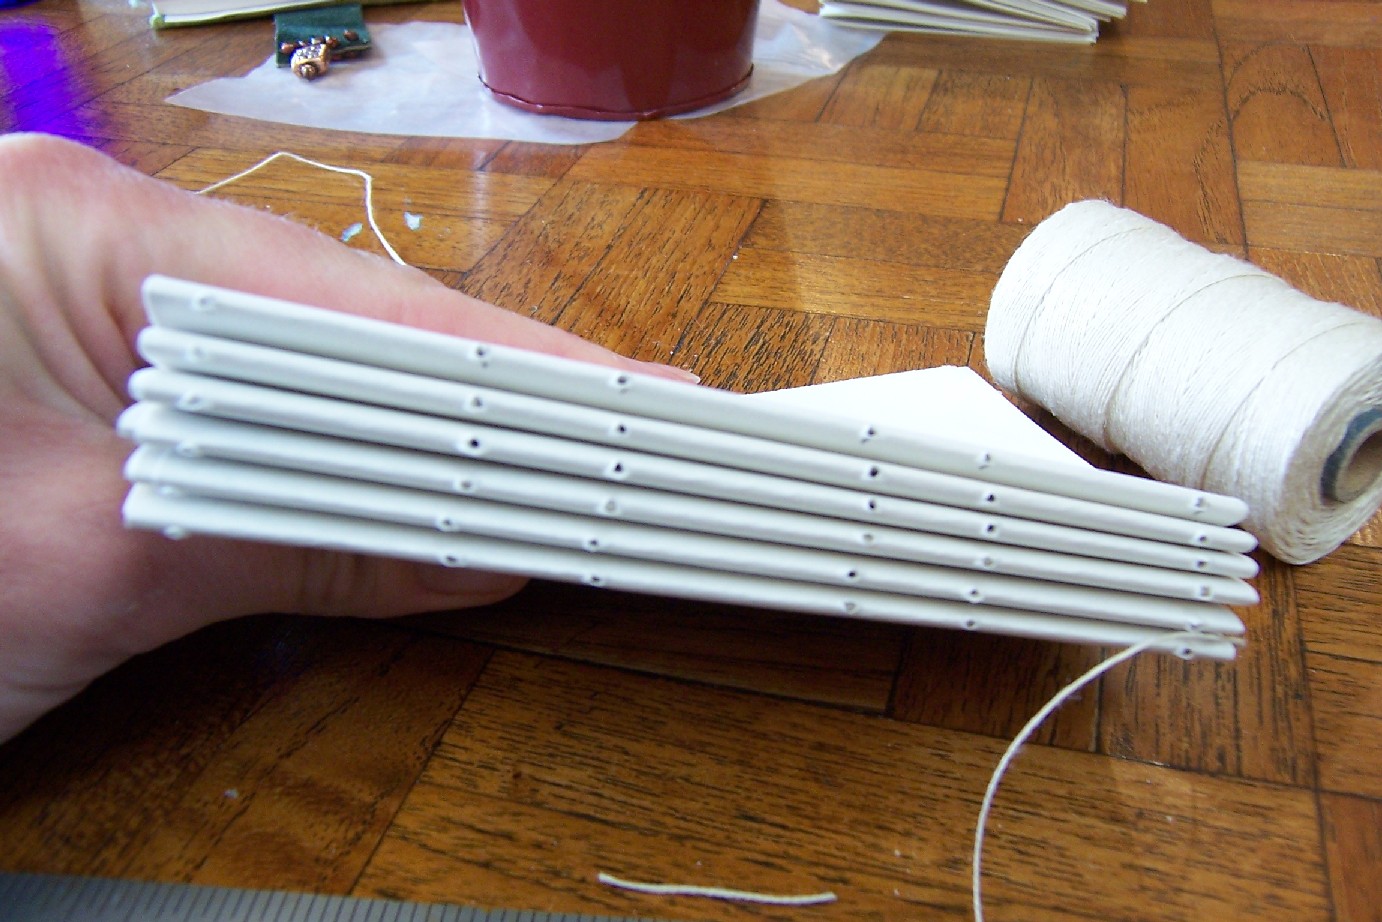
5. Making the holes: I use the marks as a guide for the first one, and then after that I use the holes as a guide and plunge the awl through one signature into another.
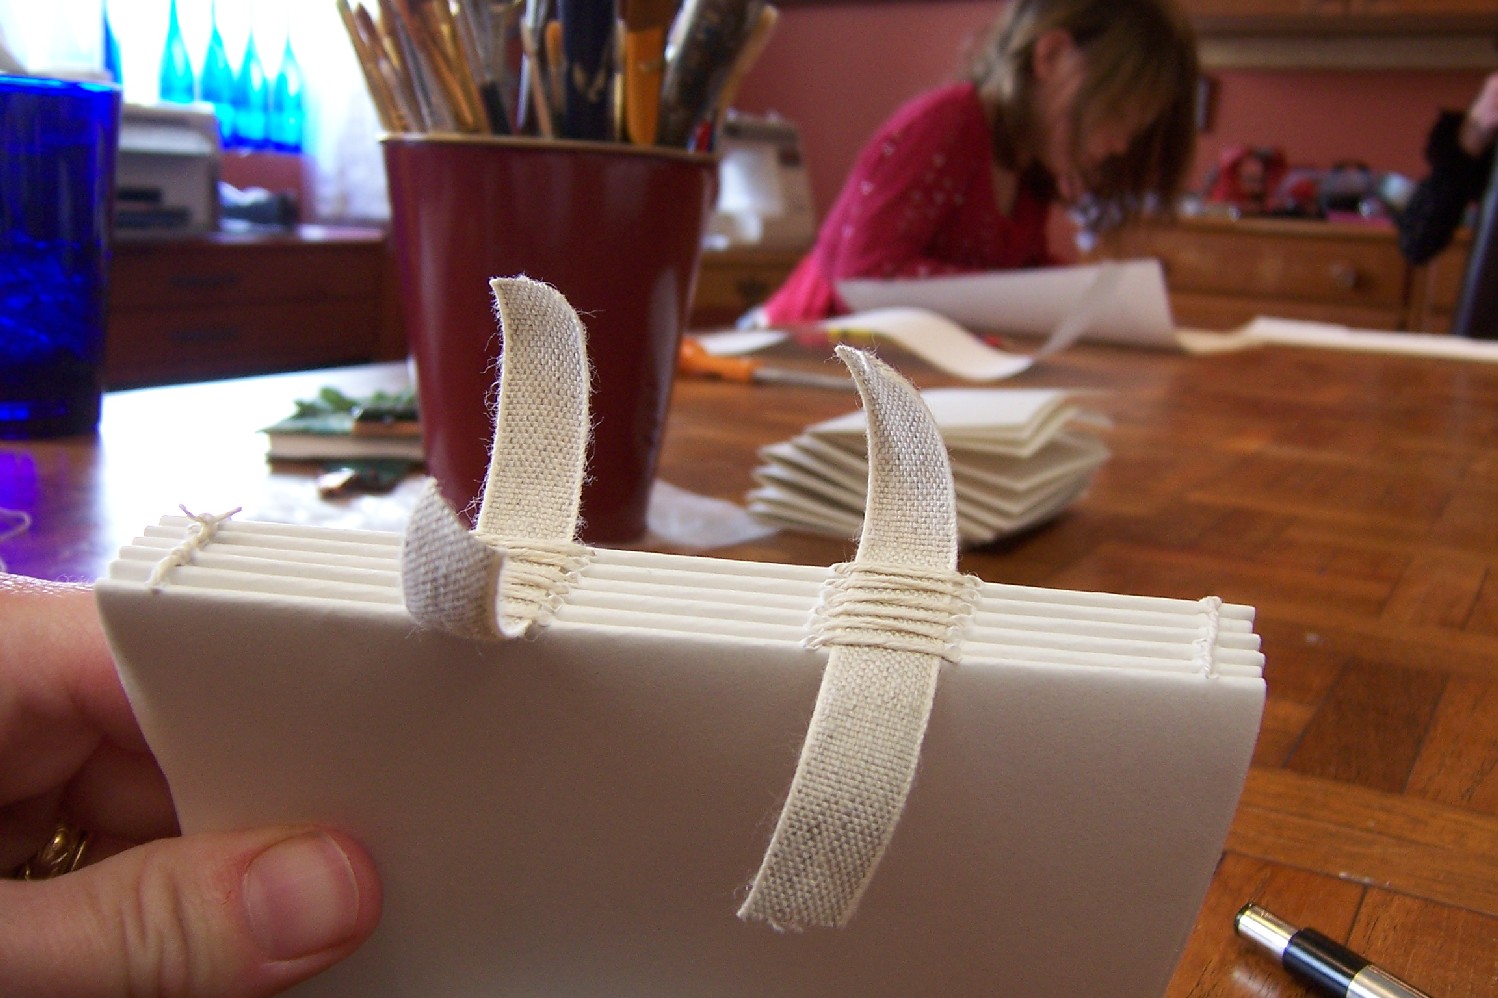
6. Sewing the signatures: I wax the linen thread first by passing it through the center of a beeswax tealight.
7. Sewn signature showing linen strip: The next stages are to glue the back edge of the signatures together and then to paste on the mull.
8. Gluing the signature: This keeps the signatures from gapping when the book is opened.
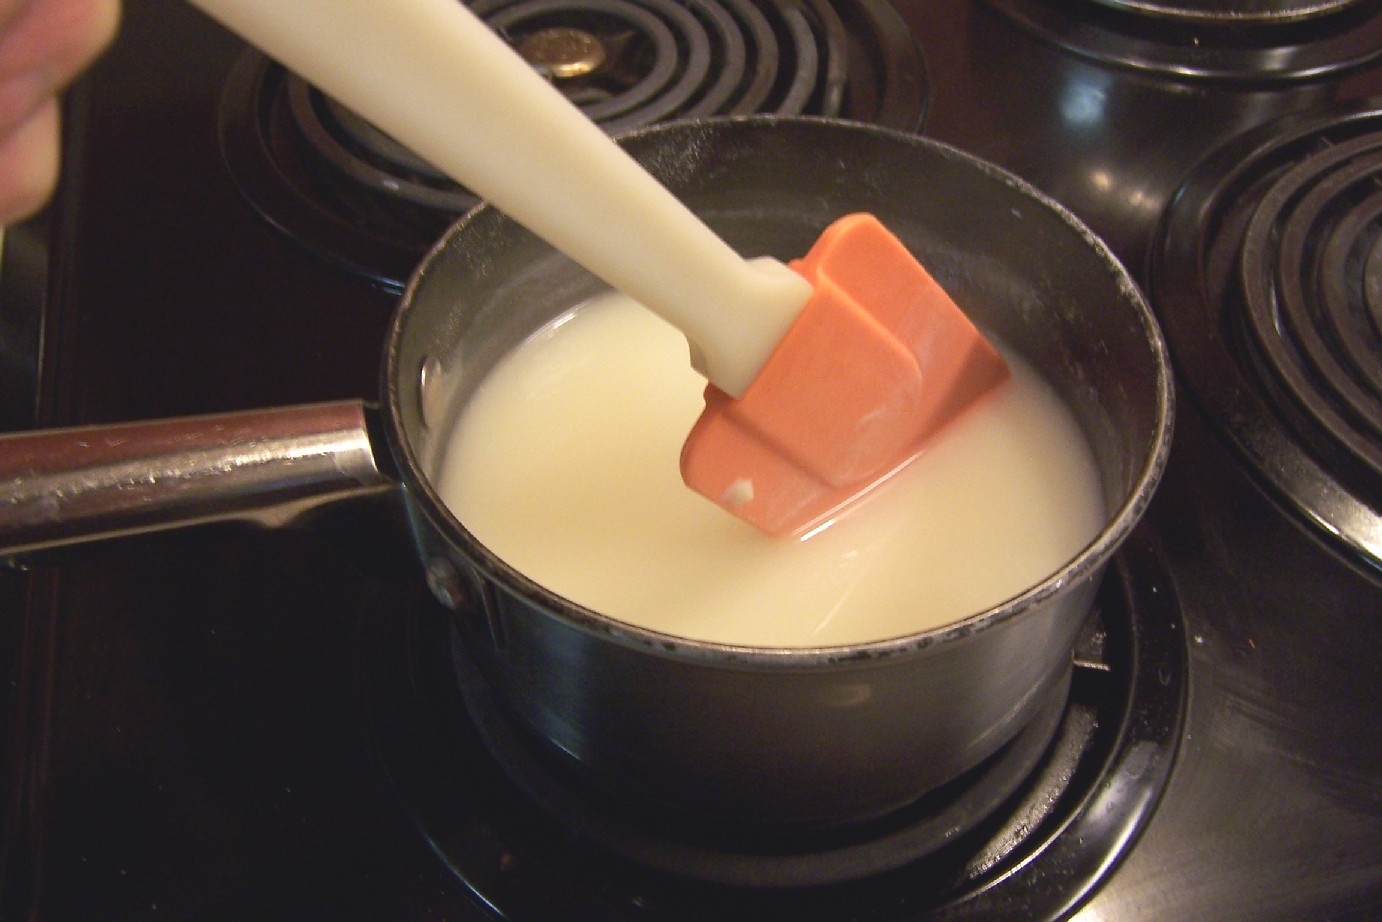
9. Making wheat paste: 1 and a half cups water, for tablespoons of flour, cook until thick.
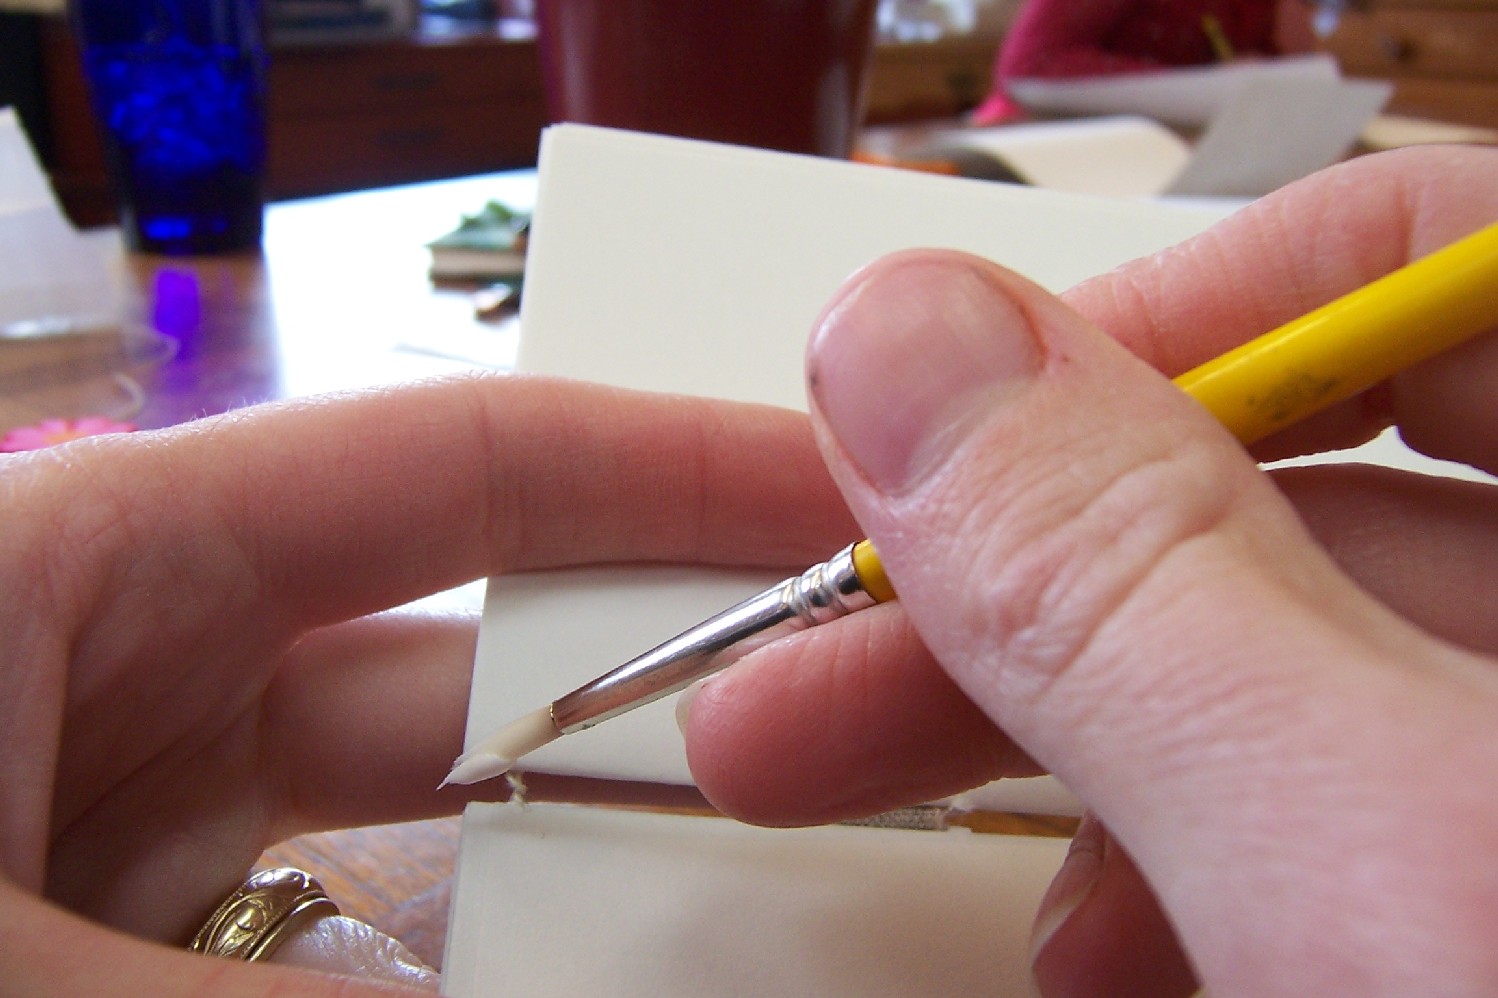
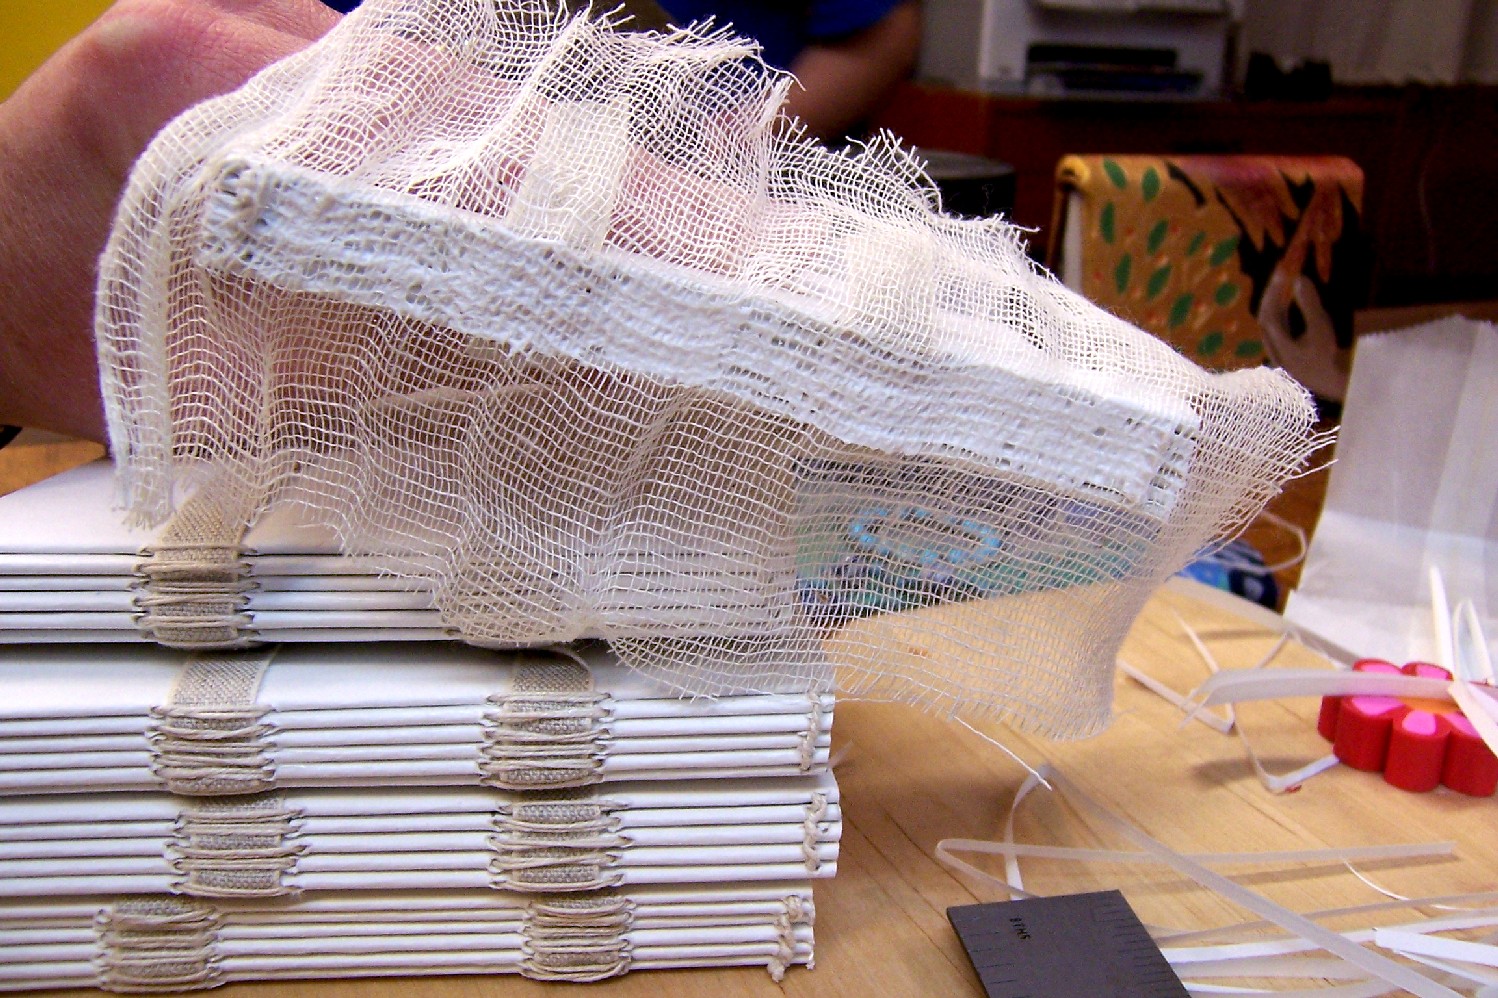
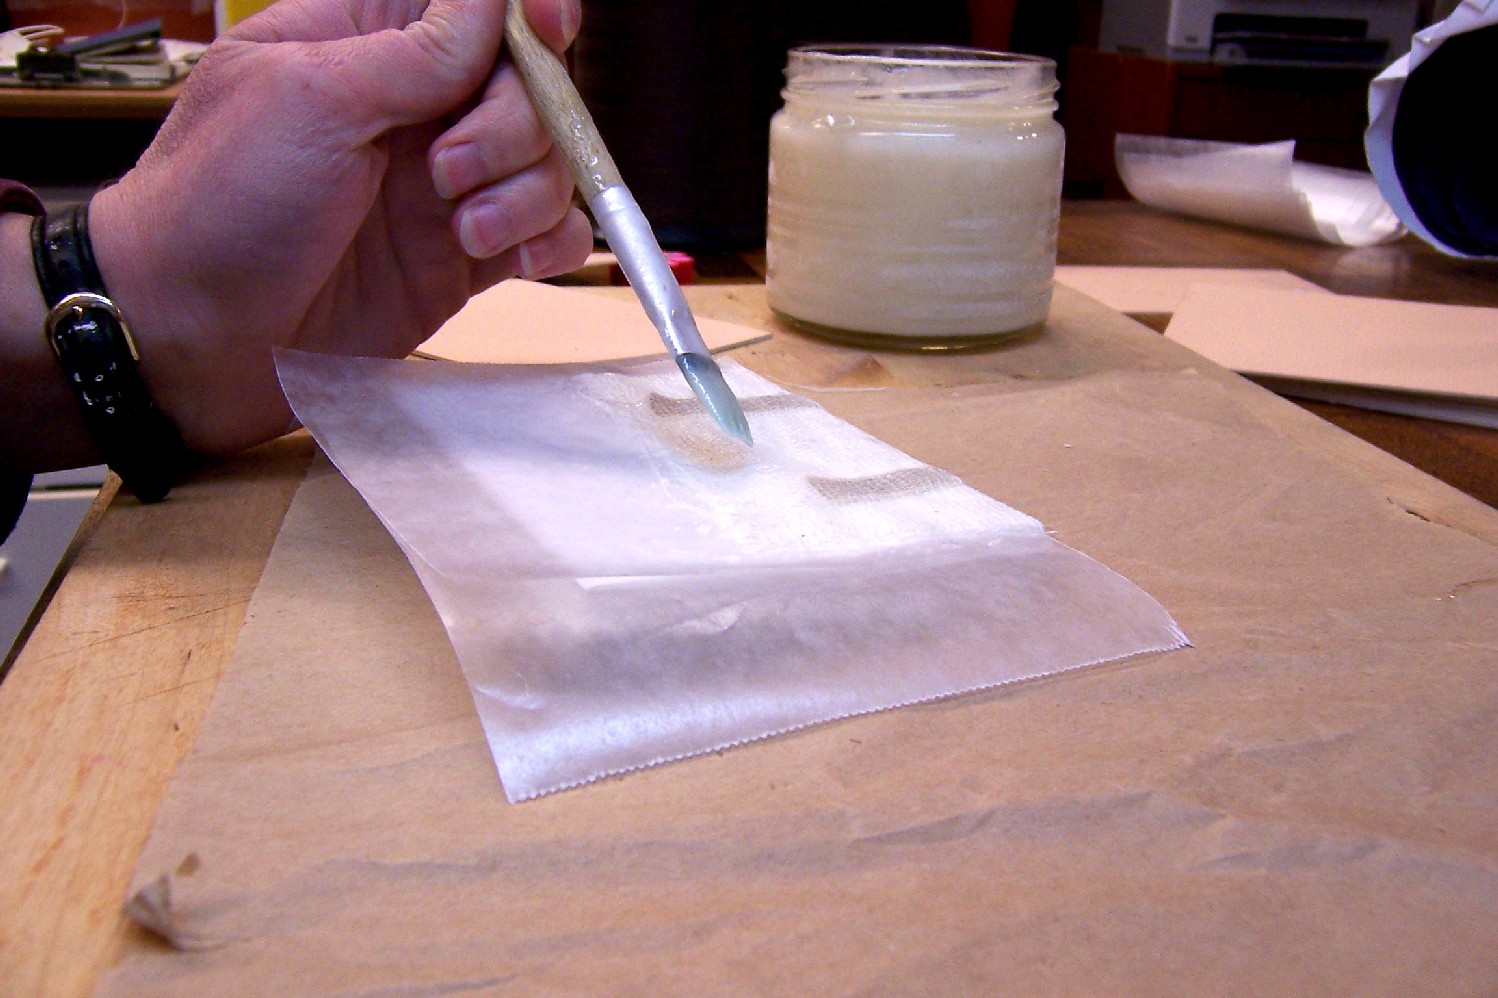
10. Gluing the mull: I use white glue for the spine, as it is more flexible. This time I decided to see if it was better to trim the mull before or after gluing. (Before is better.)
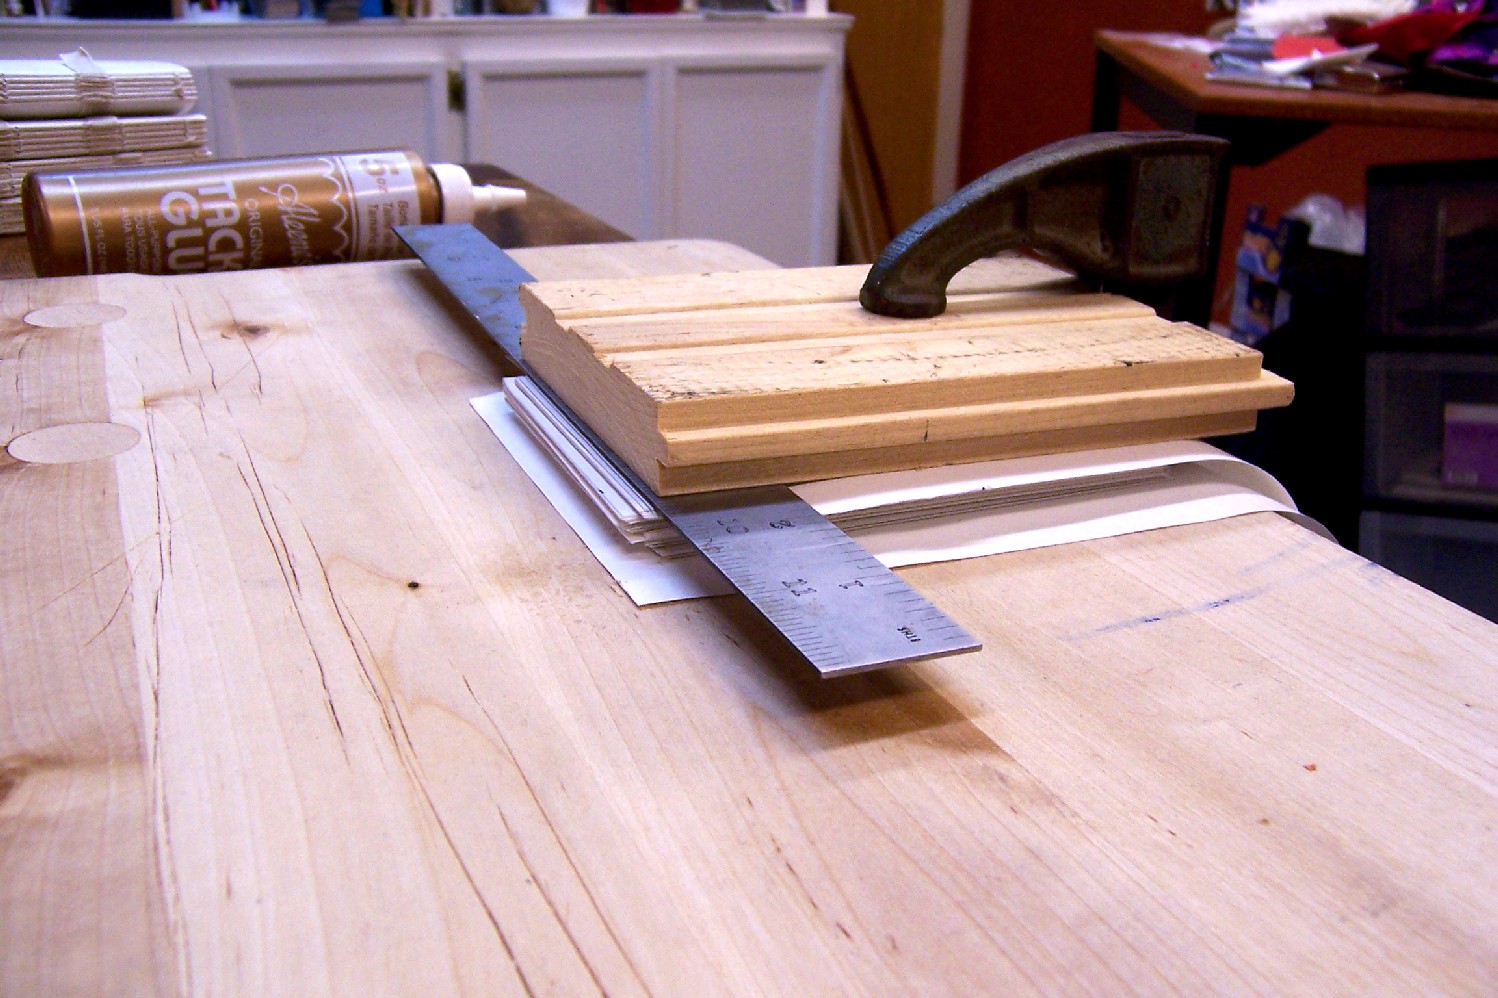
11. Trimming the block: Metal ruler, block of wood, exacto knife, and C clamp.
12. Pasting the covers: The covers are two rectangles of mat board, slightly taller than and about the same width as the block. A second strip of matboard, used to protect the spine, is glued to the inside of the cloth or paper or buckram (whatever I use to cover it.).
There are a lot of ‘necessary’ steps that I don’t do, like sanding the corners of the matboard (I usually forget). Most books on bookbinding also have plans for contraptions to press the books flat (I use a stack of metal weights) to trim them (see above) and to hold them for sewing (I use my left hand.) Sometimes I think it’s better not to worry about doing something ‘right’, and just do it.