• Home
  • About Catherine Cheek
  • Writing Resume

Kater’s Art

artblog and writing resume

Category:

  • alternart
  • Art Journal
  • books
  • drawing
  • Glass
  • henna
  • pottery
  • Printmaking
  • Tiles
  • Uncategorized
  • wood

Archives:

  • August 2008
  • July 2008
  • June 2008
  • May 2008
  • April 2008
  • March 2008
  • February 2008
  • January 2008
  • December 2007
  • November 2007
  • October 2007
  • September 2007
  • August 2007

Blogroll:

  • Amalia Fisch
  • Black Wren Morris
  • BoingBoing
  • Bridget Cherie Harper
  • Caged Faeries
  • Ecstatic Days
  • Endicott Studios
  • Glass Maze
  • Jerome Stueart
  • Keyan Bowes
  • Livejournal
  • Lucy Snyder
  • Nick Wolven
  • Tender Comrade
  • The Blatantly Obvious

Meta:

  • RSS
  • Comments RSS
  • Valid XHTML
  • XFN

Children’s Vests

February 17th, 2008 by admin

Tigana’s VestRavenna’s Vest
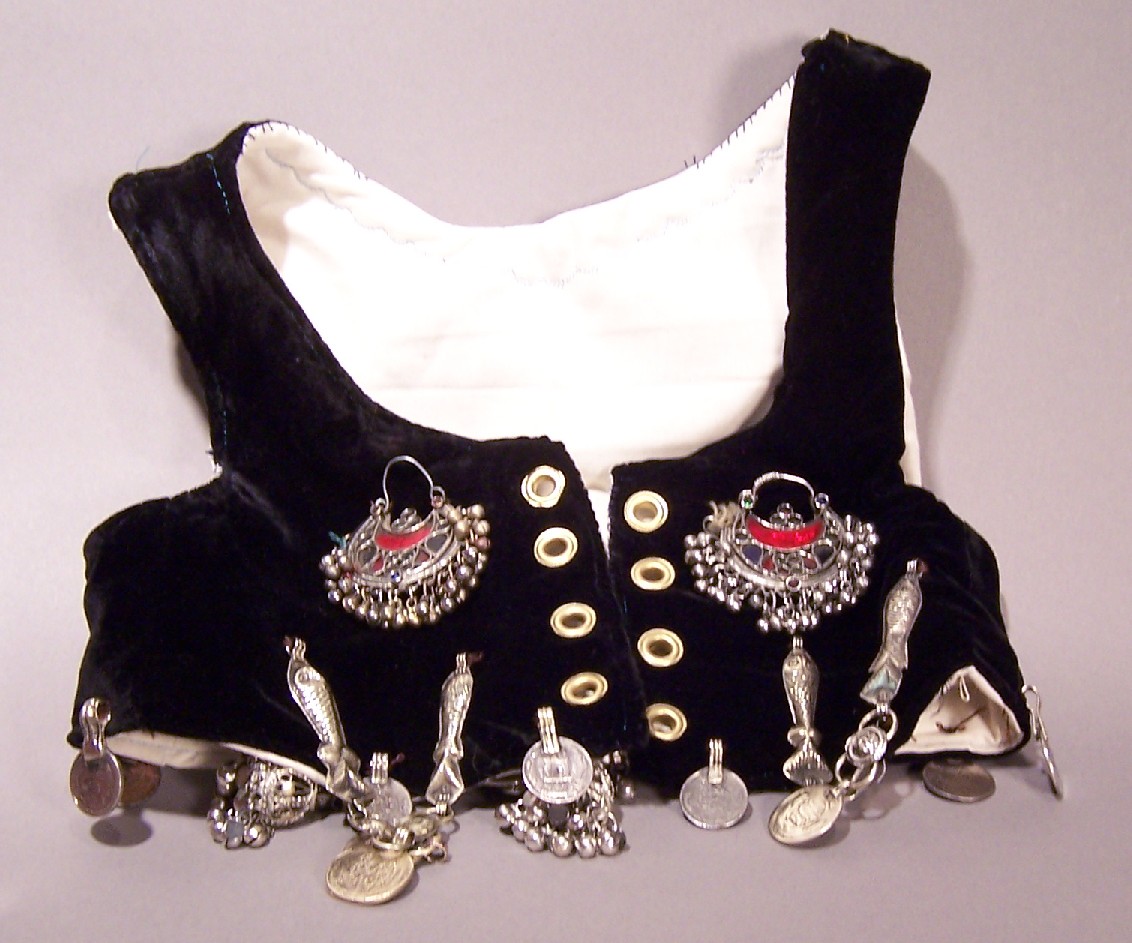
It’s time for the Renaissance Festival again, and of course the costumes the children wore last year are unsuitable for this year.  My husband sweet-talked me into making bodices for the children.  I’ve made dozens of these, but the necessity of making them, often at the last minute, has sucked the joy out of it for me.

Here’s how I did it:

Step one, find a t-shirt you’re willing to sacrifice. I wasn’t able to find the ones I set aside specifically for this purpose, so I ended up using tank tops, which didn’t work as well.

Step two, put the t-shirt on the girl and wrap with duct tape.  Draw lines where the vest should go with a sharpie, then draw along the curves.  This takes some knowledge of how patterns are put together. Cut the shirt off the girl.

Step three, place the cut pieces on paper and trace around them.  Make the pattern out of the average of these two pieces.  You have to remember seam allowance (naturally) but you also have to leave extra space at the top of the shoulders, as these never align properly. You also need to leave extra where the grommets are going to go.

Step four, cut out pieces. I used an old velvet dress for the black (I had to tear out eight darts, which made me grumpy.) I used the lower half of cheap Ikea curtains for the lining.

Step five, sew pieces together and make sleeve for boning.  For boning, we always use 1/2 inch cable ties, trimmed into curves at the end.  The standard boning you get at the cloth stores doesn’t hold up very well, and it doesn’t have the support you need for a hefty woman.  For a generously bosomed woman, you can use up to four pairs of boning.  For my tiny children, I used only one pair.

Step six, sew backs to fronts, leaving shoulders and front of bodice open.  When this is done, you have to turn it inside out (difficult if you haven’t left enough room) and press the seams.

Step seven, hand sew the open seams, including the front.  This takes a special fitting, to see where the shoulders match up and to decide how tight you want it.  If the fabric isn’t suitable, it will stretch out of shape (again, it’s worse on more zaftig women) and you’ll need to make it extra tight.  My kids are beanpoles, so I just made it fit like a vest, not like a bodice

Step eight, insert the grommets. We have the grommets and the tool for inserting them, but the awl for punching holes has died from overuse.  I had an awl of the right size that I bought for bookbinding, and I donated it to the cause. (My husband had to make many of these bodice/vests, for the dancers of his troupe).

Step nine, sew the seams.  I used decorative stitching and colored thread so I could tell the kids’ vests apart.

Step ten, sew on jewelry.  I bought this Kuchi jewelry at the Tucson Gem show.  It’s surprisingly expensive, considering how cheap the metal is.

Posted in alternart | No Comments

Wrinkled Blue-Green Vase

February 15th, 2008 by admin

Wrinkled Blue-Green Vase 2Wrinkled blue-green vase 1This is one of my latest vases from class.  The wrinkling on the sides is unintentional.  I think I’ve discovered the cause: I’m going in too far to the gloryhole when I’m trying to heat just the lip, and it’s making the vessel wrinkle.  I had two, the other was nearly identical to this, but the bottom was cracked out because of too much glass on the puntie.  I ended up smashing it, as I was having a bad day and really needed to smash something.

Posted in Glass | No Comments

Shino Dragon Cups

February 11th, 2008 by admin

black shino dragon cuppale shino dragon cup view 3pale shino dragon cup view 2Pale Shino Dragon Cup, view 1

These are two cups I made, nearly identical, with the dragon motif.  They are only two and a half inches tall.  I did the design by painting on wax resist, then dipping in shino.  The other cup turned out much darker, nearly black with trapped carbon.  The darker cup, unfortunately, got broken .  Same clay (Coleman porcelain) same kiln, same glaze, same size, same design.  Drastically different.

Posted in pottery | No Comments

Fox and Grapes Cup

February 7th, 2008 by admin

Fox and Grapes Cup

This is a small porcelain vessel I made, approximately three inches tall, showing one of the problems I had with painted underglaze.  The underglaze designs are a lot more detailed before the glaze is added.  Later I tried to correct this by spraying, which mars the design less, but ends up being thinner, which makes for a rough surface. After firing, to clean up the blurriness of the design, I painted over it with chinapaints and fired it again.

Posted in pottery | No Comments

Porcelain vessel with cobalt: rabbit and fox

February 4th, 2008 by admin

View 4View 2View 3View 1This is another of the series of porcelain vessels with cobalt I made a couple years ago.  See ‘lidded porcelain vessel with cobalt: fox-man and crows’ for description of technique.

Posted in pottery | No Comments

« Previous Entries Next Entries »

 
Wordpress Themes by and Website Templates by Blogcut