
I’ve learned the that easiest book cover material is thin cotton adhered to a typing-weight paper back. So for these three books, (Remember book, Strive book and Lotus-skeleton book) I started out with three different calico-weight scraps of cloth and glued them onto misprinted pages.Â
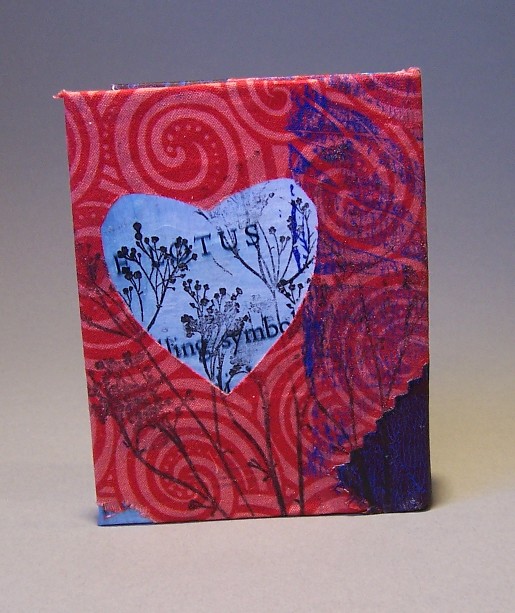
This piece of cloth is pink and red, and it had a hole missing because my children had used it to make a coat for a stuffed toy. I cut an additional hole in the shape of a heart, and since I had decided to use the burgundy taffeta scrap, I cut a heart-shaped hole in that as well. By good fortune, one of the holes lined up with the word “Lotus†from the photocopy underneath.
Once I have the background, my next step is to layer on some additional texture. I had mixed up blue-violet paint with gel retarder for a block print, so I rolled out the rest of it and used some rubber-tipped tools to scrape away branches, forming the monoprint of a bare-leafed tree. I really love silhouettes of trees without any leaves. It seems like a simple thing to draw, but for some reason, mine never look as random as photographs.
Since I already had the tree shape, I wanted to echo it on the non-printed half of the cover. I’d recently purchased a rubber stamp of what looks like the silhouette of Queen Anne’s lace. It had no backer, and stamping proved difficult, but even repeated it lookd okay. Since I used pigment based ink, which I’ve learned, never, ever, ever, ever dries when you use it on cloth, I had to seal it by using clear embossing powder. This gives the ink a raised appearance, and also keeps it from smudging your fingers black every time you touch the cover.
I wanted to try some laser-printer transfer methods, so I warmed up the iron and tried to do a heat transfer of some text. As near as I could tell, that did exactly nothing, so I printed out my motif on laser decal paper instead. It transfers easily and quickly, though it feels rather fragile and poorly adhered, so it needed a once-over with our old pal acrylic medium.
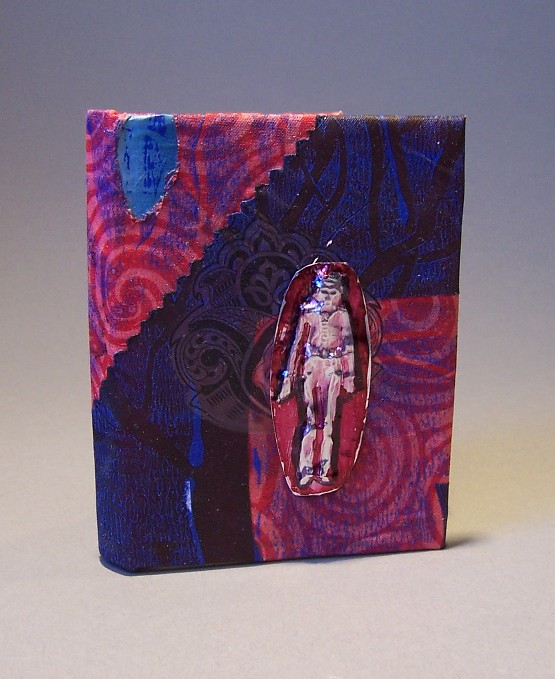
To make the skeleton embellishment, I started with a thin sheet of aluminum and a plastic skeleton toy from a Halloween themed birthday party. I taped the skeleton on the back of the metal and rubbed it with burnishing tools until the details came out. I’d just bought some new alcohol based inks that begged to be played with, so the skeleton got cranberry ink as a background color. Unfortunately, it didn’t bring out the details very well. A little sharpie helped, but not enough. But sometimes when you can’t make something sharper, smudging it is just as good. A little rubbing with steel wool made faint scratches in and brought the image to a level of abstraction equal to the ink. Of the three books I did this session, this is my favorite.