
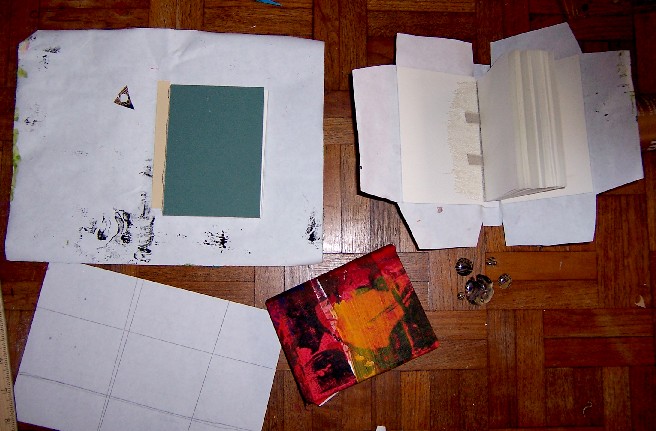
This is how I attach the covers. It’s not the final step, but anything bulky that gets glued (rather than sewn, for example) to the outside goes on after this.
Top left: I cut a strip of matboard to protect the spine and, after figuring out which part of the cover I’m going to use, I align it and glue it to the cover. Then I glue the front and back boards of the signature block to the cover as well. (I know I’m not using the proper terminology, but the proper terminology is counterintuitive and not accessible to laypeople.)
Top right: I trim the cover to match. This is one of the more difficult steps, and I’ve often gotten it wrong.Â
Bottom Center: I fold the cover in on itself for a dry fitting. It took me several books before I figured out that this step was necessary. If the cover material is too thick, for example, if I’ve used too many layers of cloth, this is where I curse and regret.
Bottom Right: some epoxy “stickers” I’ve made, potentially to use on the red face book.