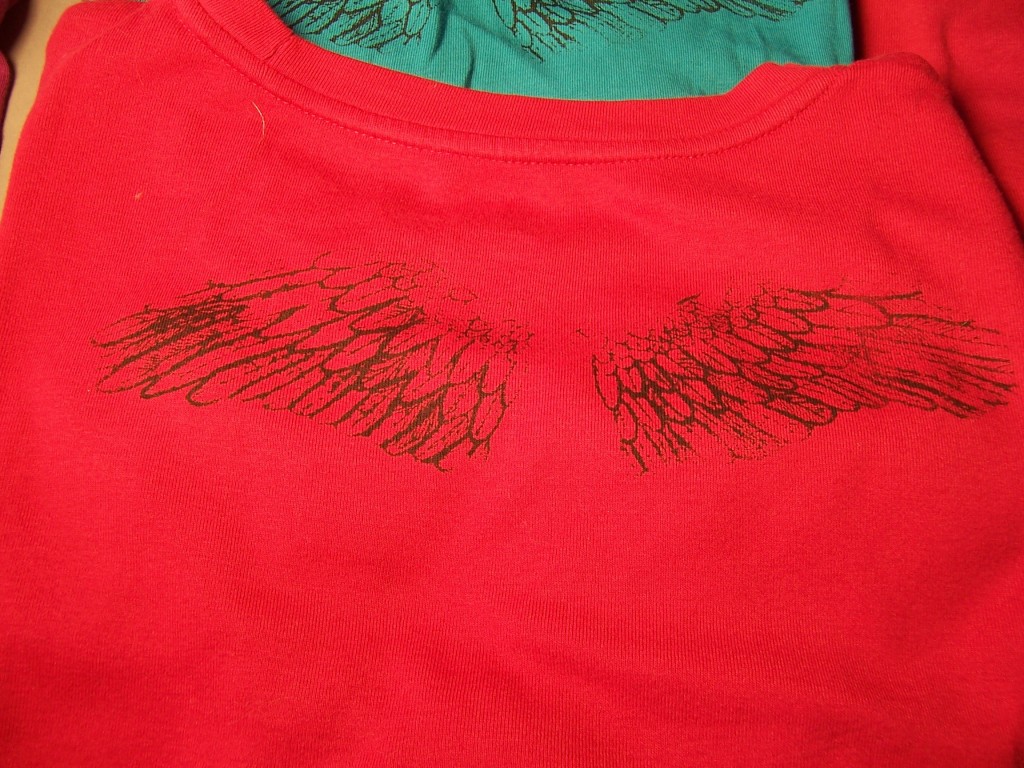
So here’s the detail of the wings that I printed using the photo emulsion technique.
I took the silk screen and poured a bead of photo emulsion liquid on it, and used the squeegie to put an even layer on both sides, as it said to in the directions. Then, I put it in a dark cabinet to dry for a few hours.
Problem: the emulsion was too thick, and it beaded up, making thick dots all over the image.
Solution: clean it off and start over.
The second time, I did a slightly thinner layer of the photo emulsion and put it in the cabinet for a couple of hours, then tried again. Taking it out of the cabinet, I put in on my desk and laid the transparency with the design on top of it. I attached the light source the directions suggested (150 watt bulb in a pie pan shade, 12″ above the image) and let it sit there for the amount of time the directions suggested (45 minutes).
Problem: the transparency stuck to the emulsion, ripping when I took it off.
Solution: let it dry more next time.
Bigger Problem: ink would not go through silkscreen, even after rinsing it for ten minutes.
Solution: clean the silk and start over.
So I did it again. This time I spread the emulsion in a darkened room and handled it at night (after letting it dry all day in a dark cabinet). Using a new transparency, as before.
Problem: Ink would still not go through the screen.
Proposed solution: get fresher emulsion.
I went to the art store and talked to the guy there about my problem. He said the emulsion was probably not bad, since it was only a couple of months old and had been refrigerated, but that 45 minutes with that light source was excessive. He also suggested using double transparency, so that I had a cleaner image. I went home and prepped a new silk with another layer of photo emulsion. Then I printed out a double layer of transparency and tried 30 minutes of light instead of 45 minutes.
Problem: Didn’t have the detail I wanted. Some of the lines didn’t come through at all.
Solution: I hadn’t been using a piece of plexiglass to lay it flat, because the one I had didn’t quite fit. However, I did find a picture frame that had a piece of glass that fit nearly exactly, so I borrowed it.
Here’s the result. The detail on the tips of the wings is missing, and I can’t see all the feather veining, but after all the effort I put into this, I’ll take it.

