
I wanted to make some shrines using altoids tins filled with clear epoxy resin. My kid’s school had an art show where the kids made little dioramas and glass jars filled with layered images and resin, and I’d been mulling it over for a while.
I knew I wanted to do some kind of three dimensional frame around the altoid tin (or tin lid, in this case) but I wasn’t sure which of the materials I had would work the best. This is DAS paper clay. I used DAS paper clay to make faerie heads and hands and feet for the dolls I made, so I knew it took watercolor very well once dried. I also know that it’s not the easiest thing to work with. It’s clumpy, requiring a lot of kneading, and it dries out quickly, so you have to keep spritzing it with water.
I molded most of this with my hands, pressing the clay onto a chipboard support, then used some rubber stamps and an antique picture frame to give the larger texture. Once it was done, I had to put it in a plastic bag so it would dry slowly, because DAS paper clay cracks if you aren’t careful. A review online said this kind of clay was great for rubber stamping. I think they mean rolling out thin sheets. I may try that with the rest of the bag.
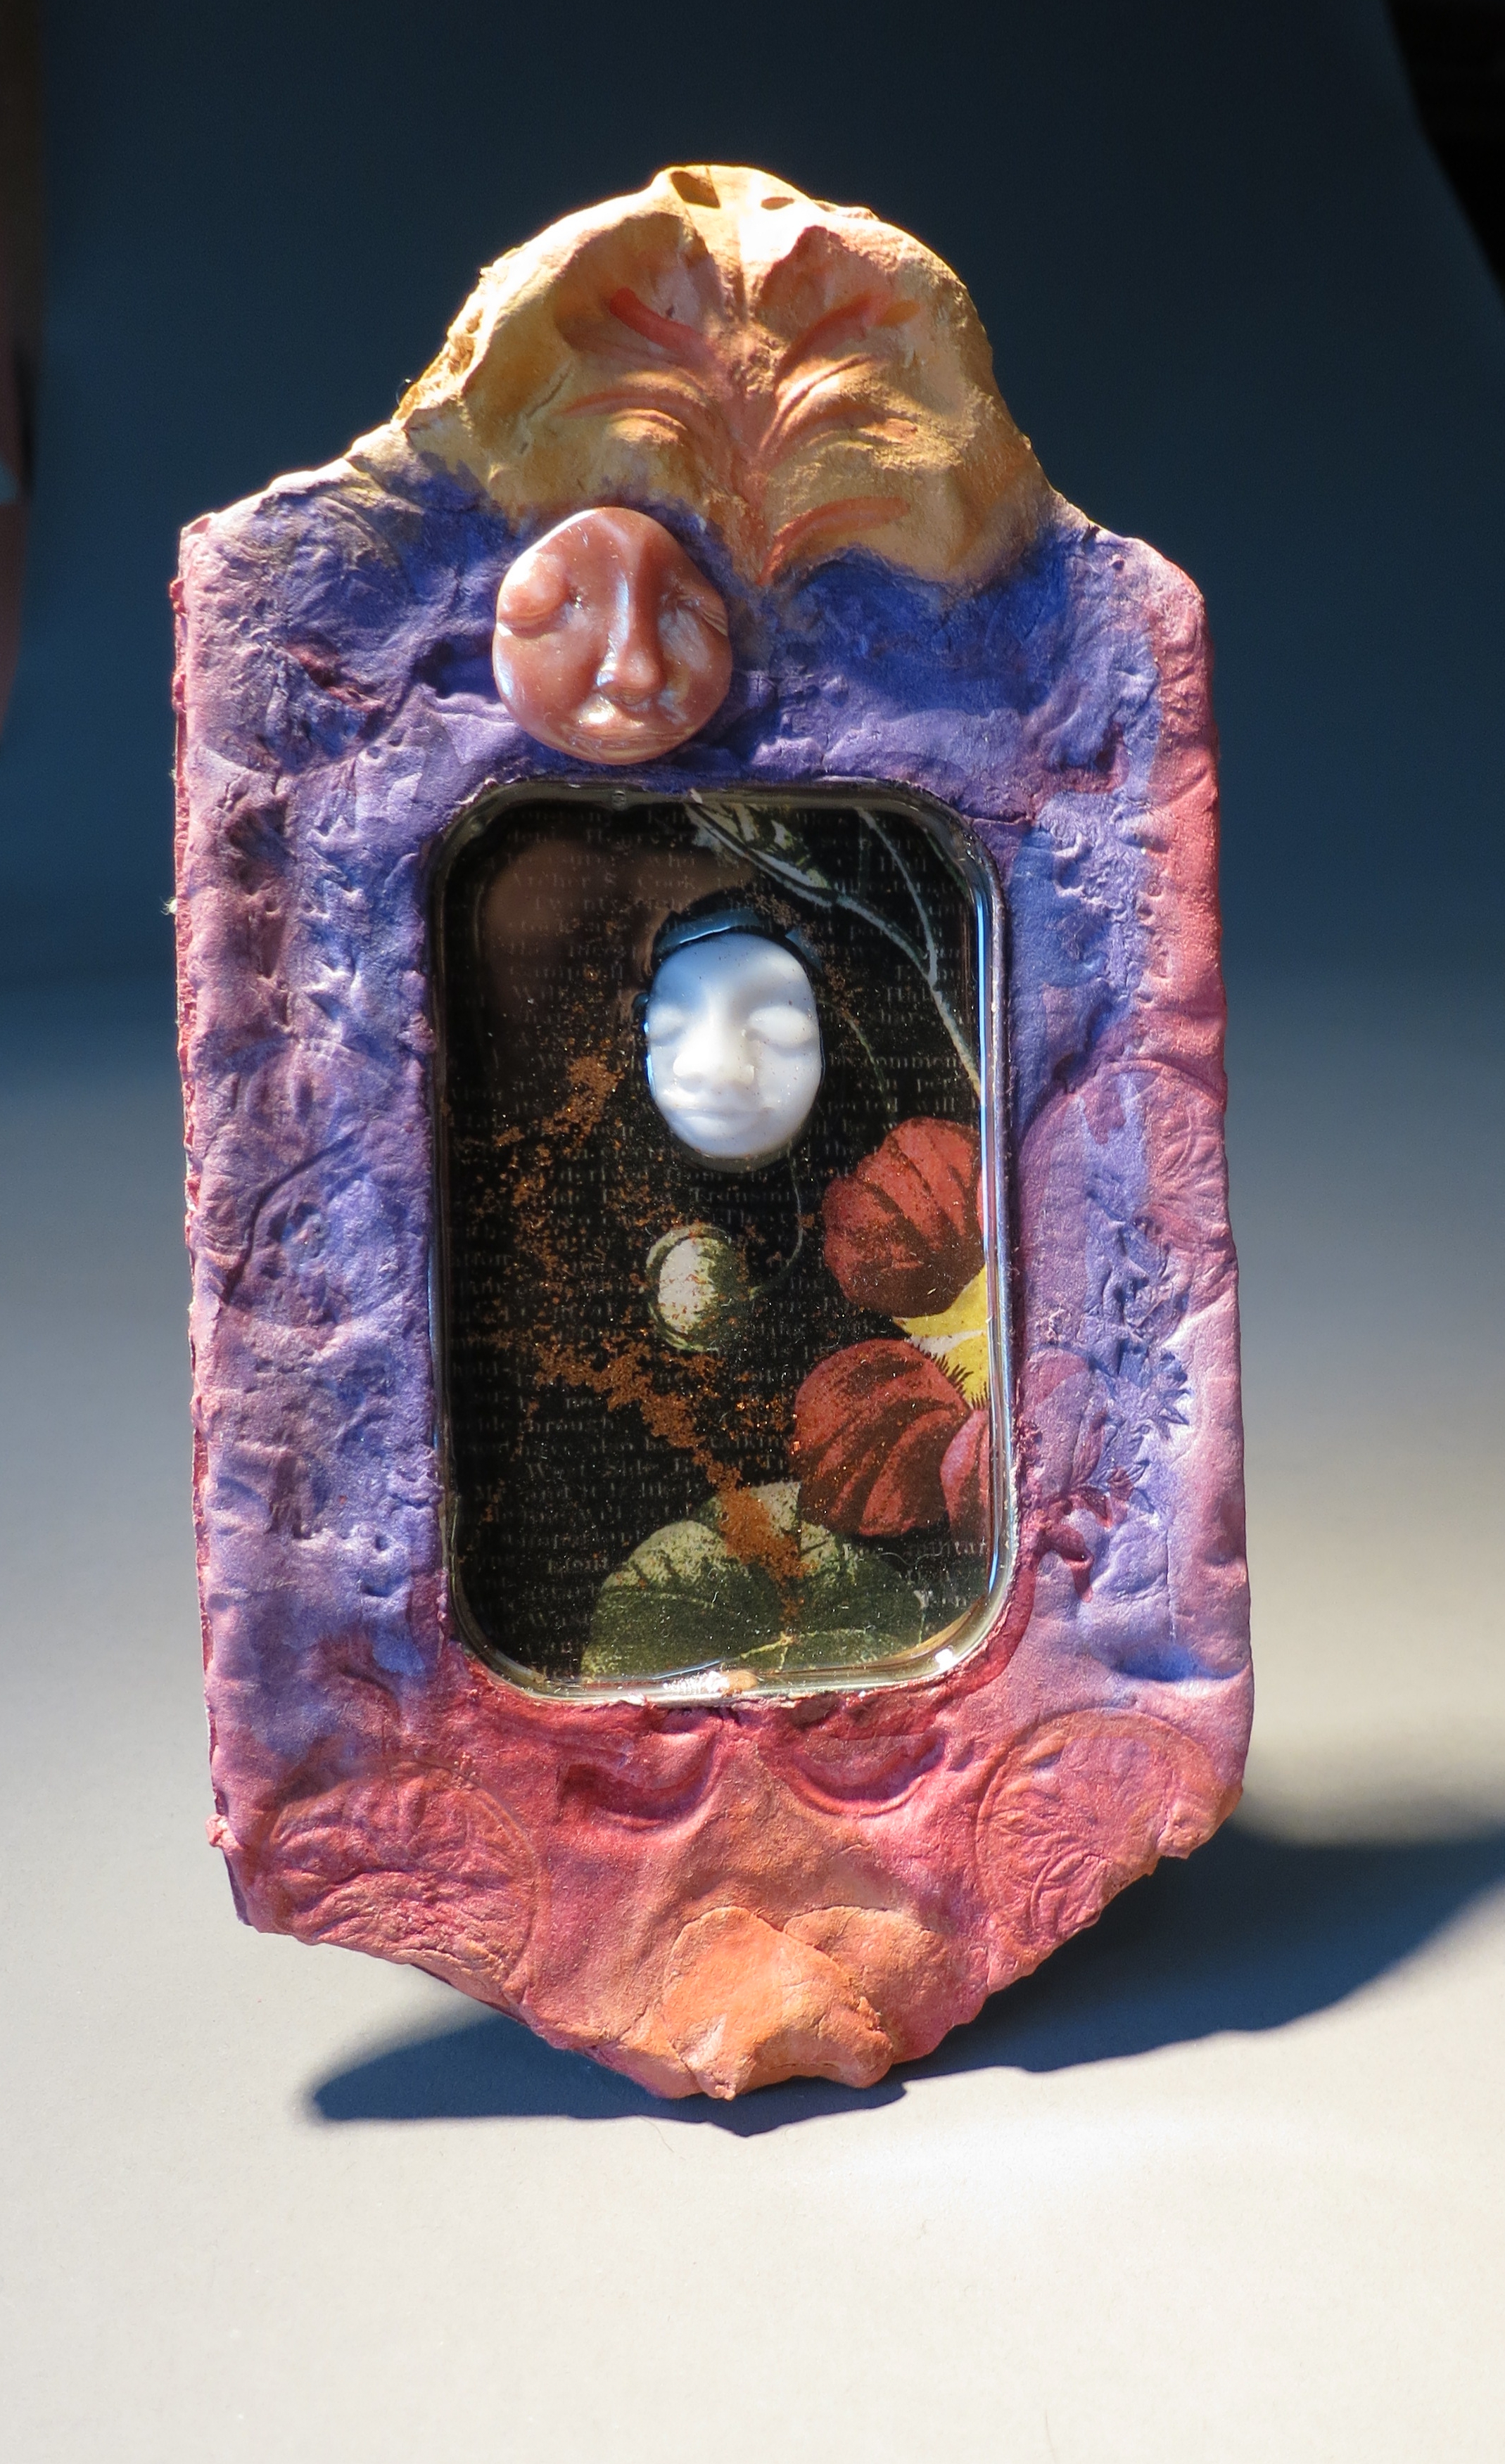
I painted two coats of watercolor on this, one for the base, and one for detail. I didn’t seal it, so there’s a chance it will fade. The background of the tin is a piece of art paper cut to shape. I added some copper mica pigments, and was deciding what to add in the middle when the face fell in (it had been resting on the top next to the bronze face). It seemed to suit there, so I left it, gluing the bronze face on the frame where it meant to go.
I was going to add something else; I had some thin plaster wings I meant to use in this project. In the end, I decided this was good enough.