
I decided to make this when I saw a woman make a paper mache dragon on her website. I was so enrapt I bought her mask-making book and watched all her videos and decided I was going to make some kind of sculpture. I decided on an owl because I’d had owls on the brain since I published MULBERRY WANDS last year. Most owls look very similar–speckled brown and white–but barn owls are different, and creepier, so I did a barn owl.
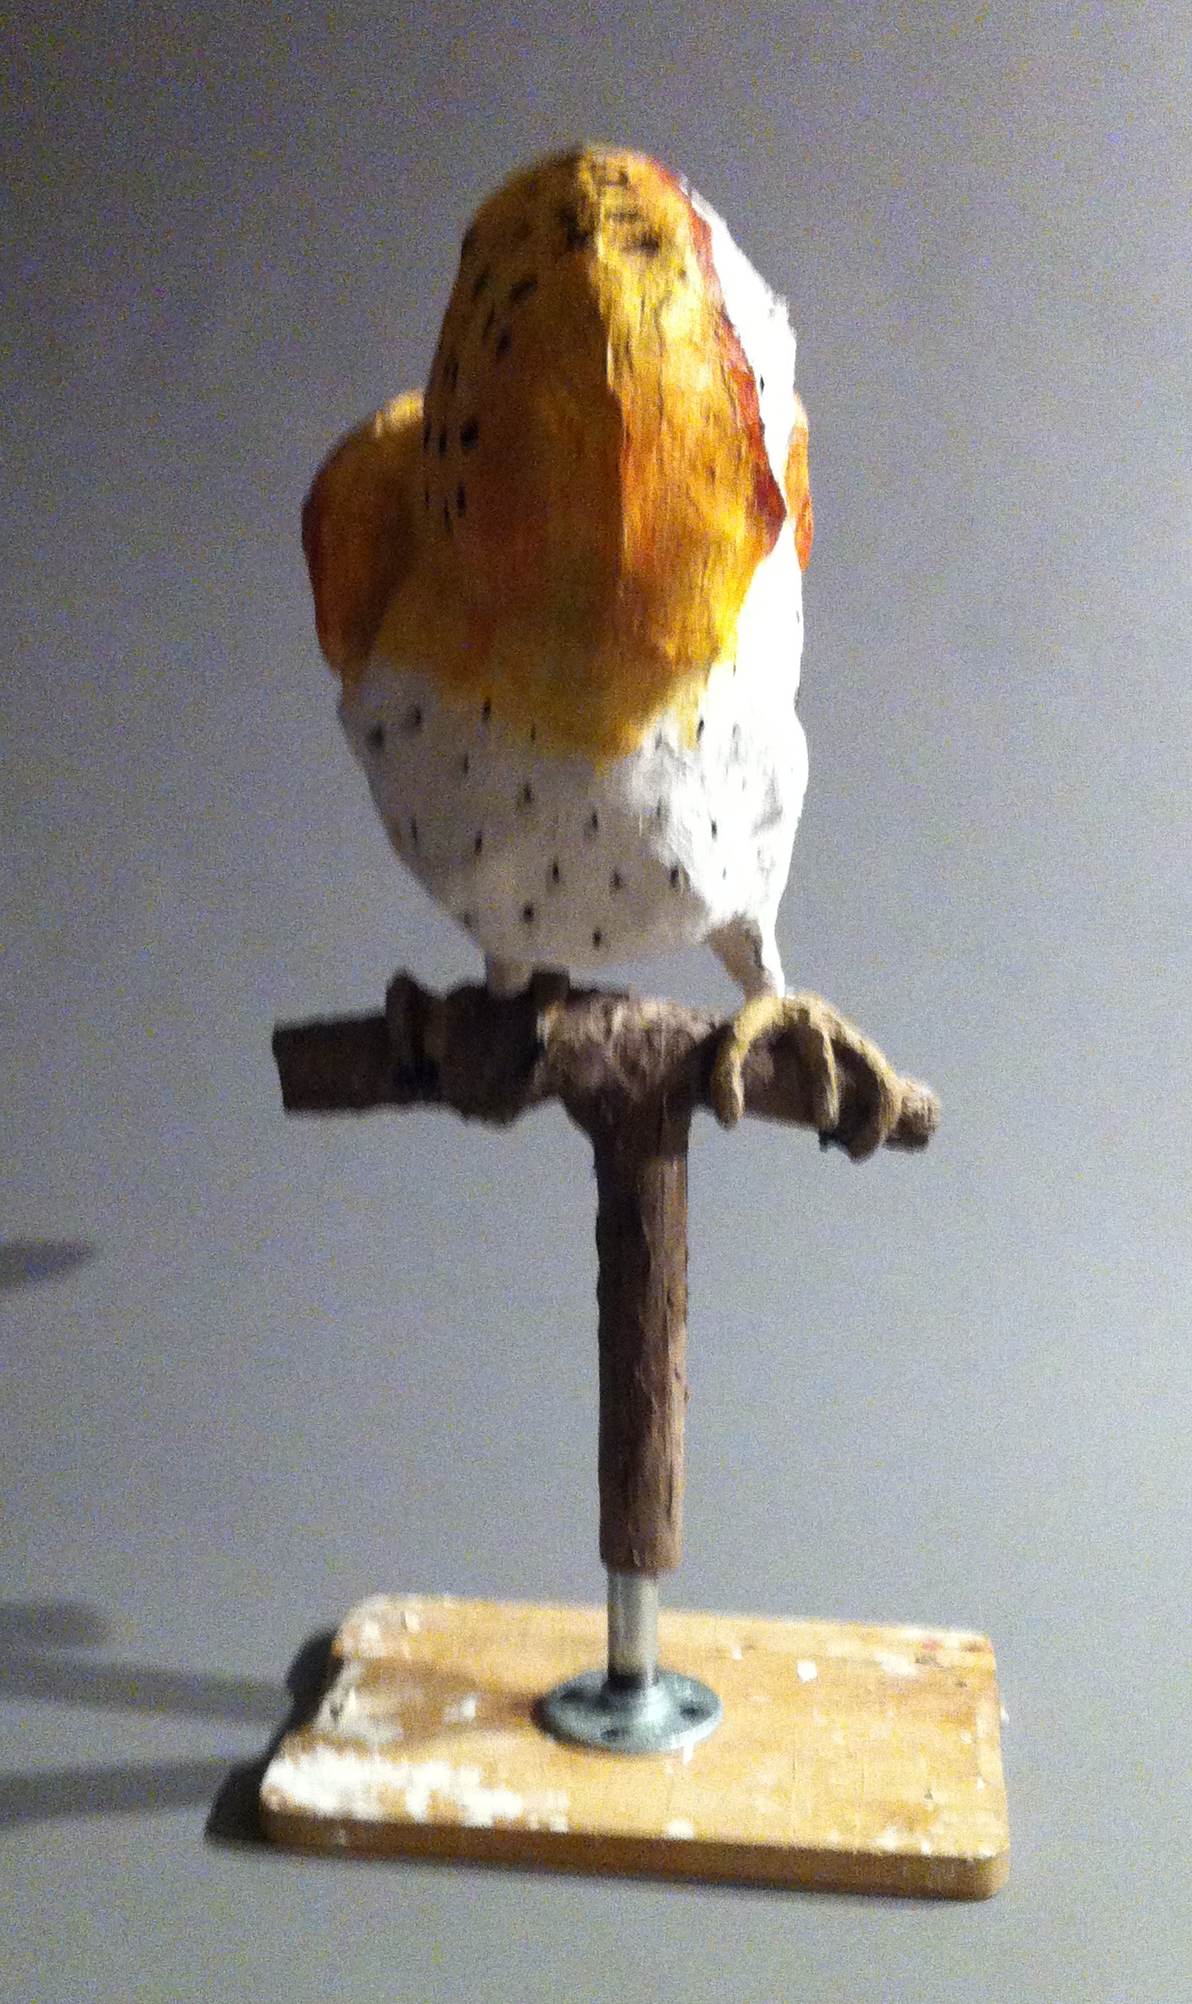
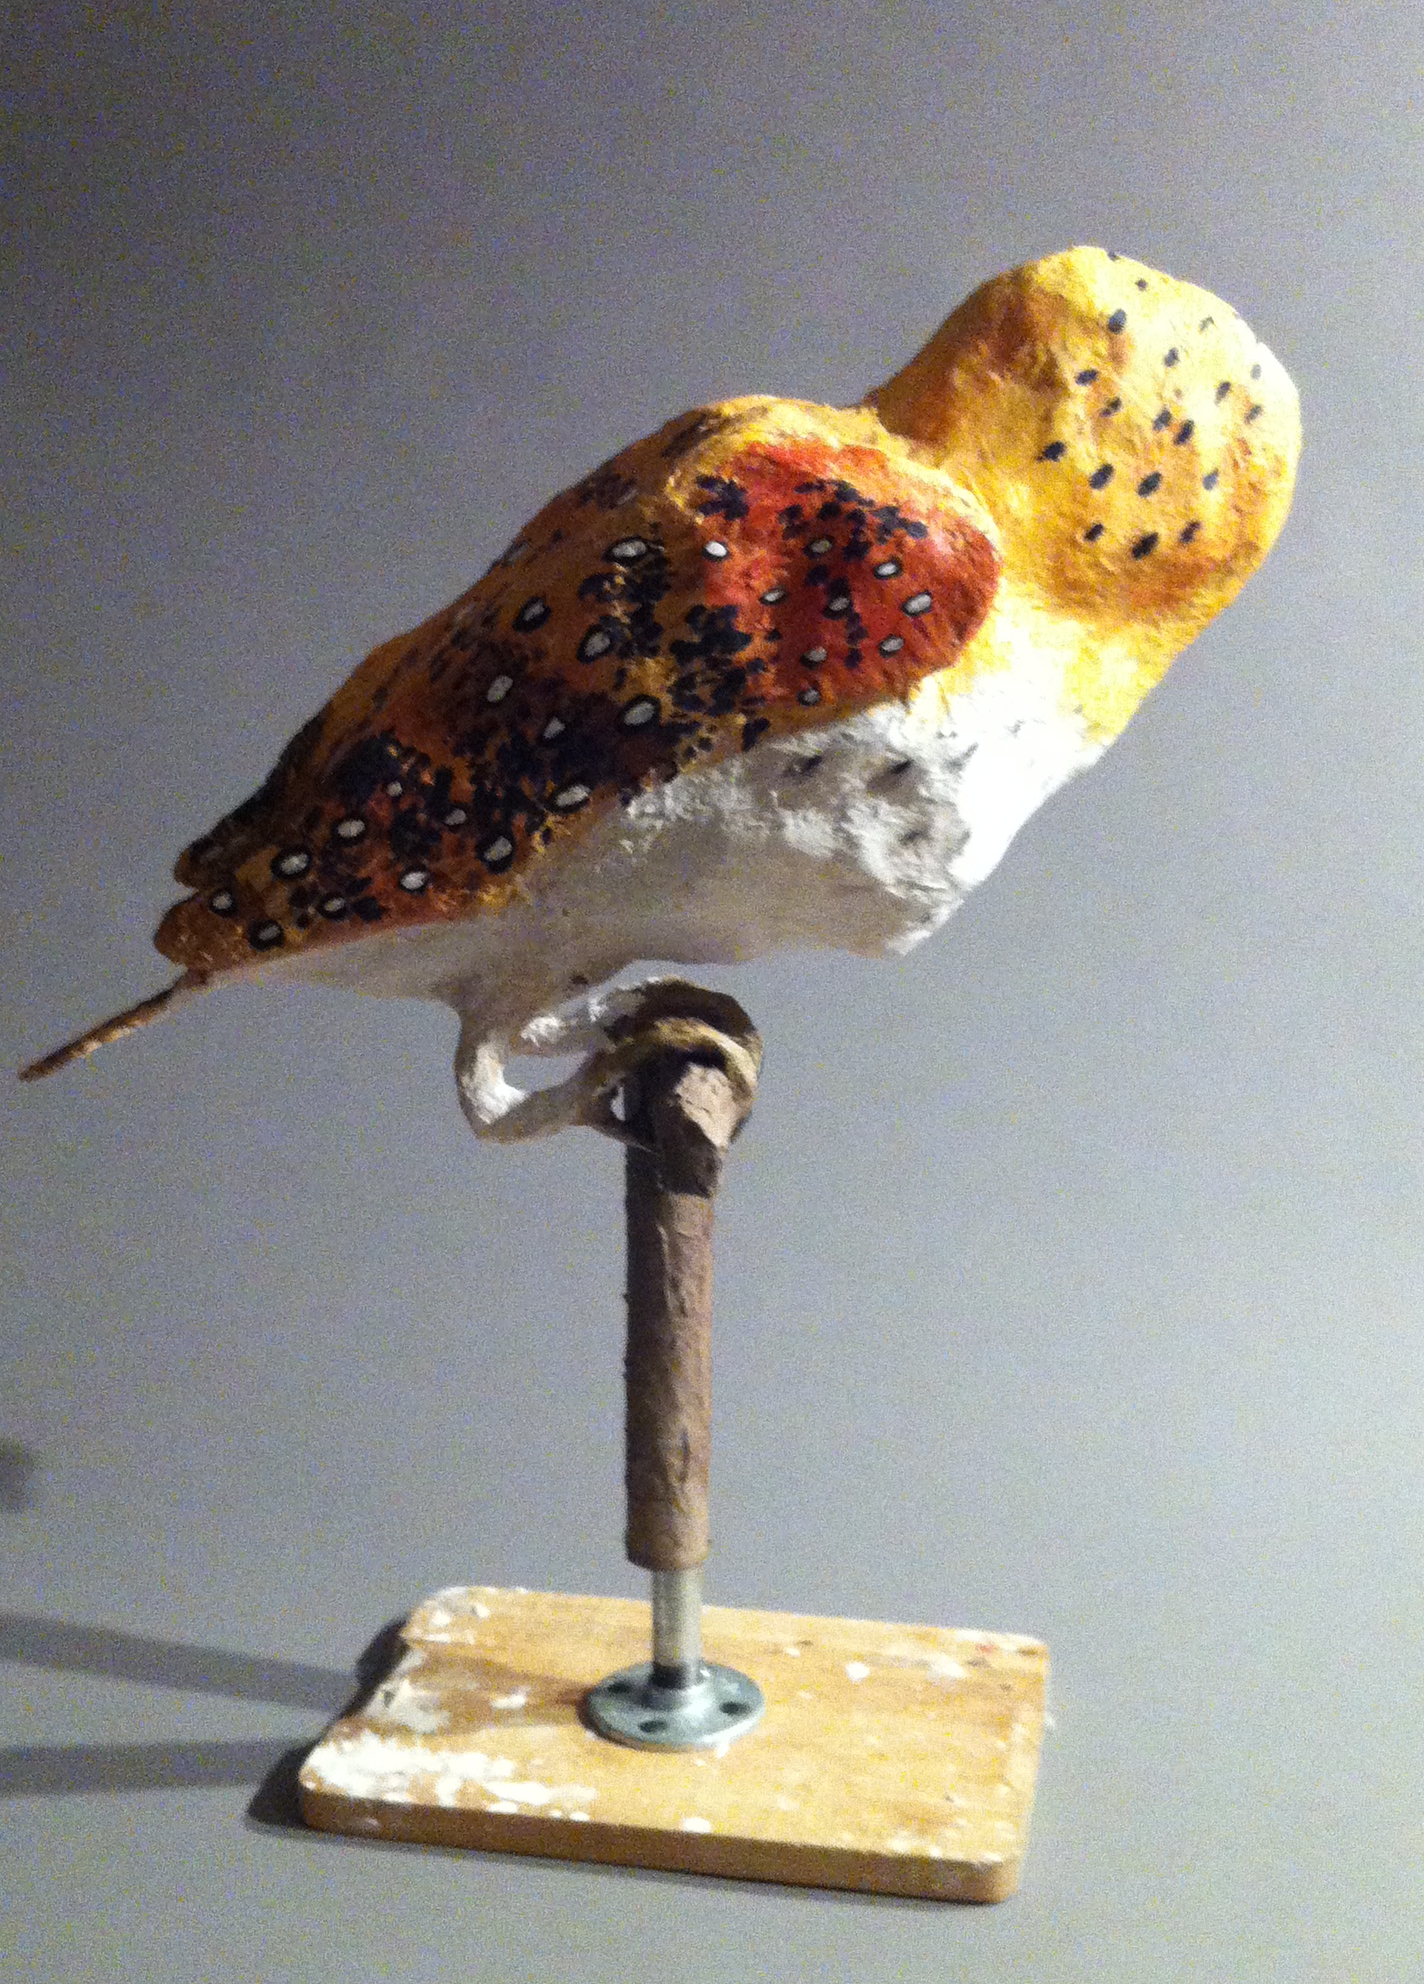
I started with a cutting board from Ikea, which I bolted a pipe to. I bought the pipe attacher thing and the pipe at the hardware store. It has a T joint on the top, but I ended up not using that. It’s a nicely sturdy stand. I meant to reuse it, but if I do, I’ll have to throw the owl away because the stand is really teh best way tostore her. Also, the plaster drips look like bird droppings, for versimillitude. 🙂 I think that I picked this up from the above link. I used cardboard as a frame, and covered it with clay for the base. The clay dried too fast, and I underestimated how much plaster gauze I’d need, so when the clay shrank, the gauze lost its form, which was a bummer. If I did it again, I’d budget two rolls of plaster gauze. (It’s about $7 a roll, not including shipping. This owl is quite large, maybe larger than life size. That’s about 10 lbs of clay there.)
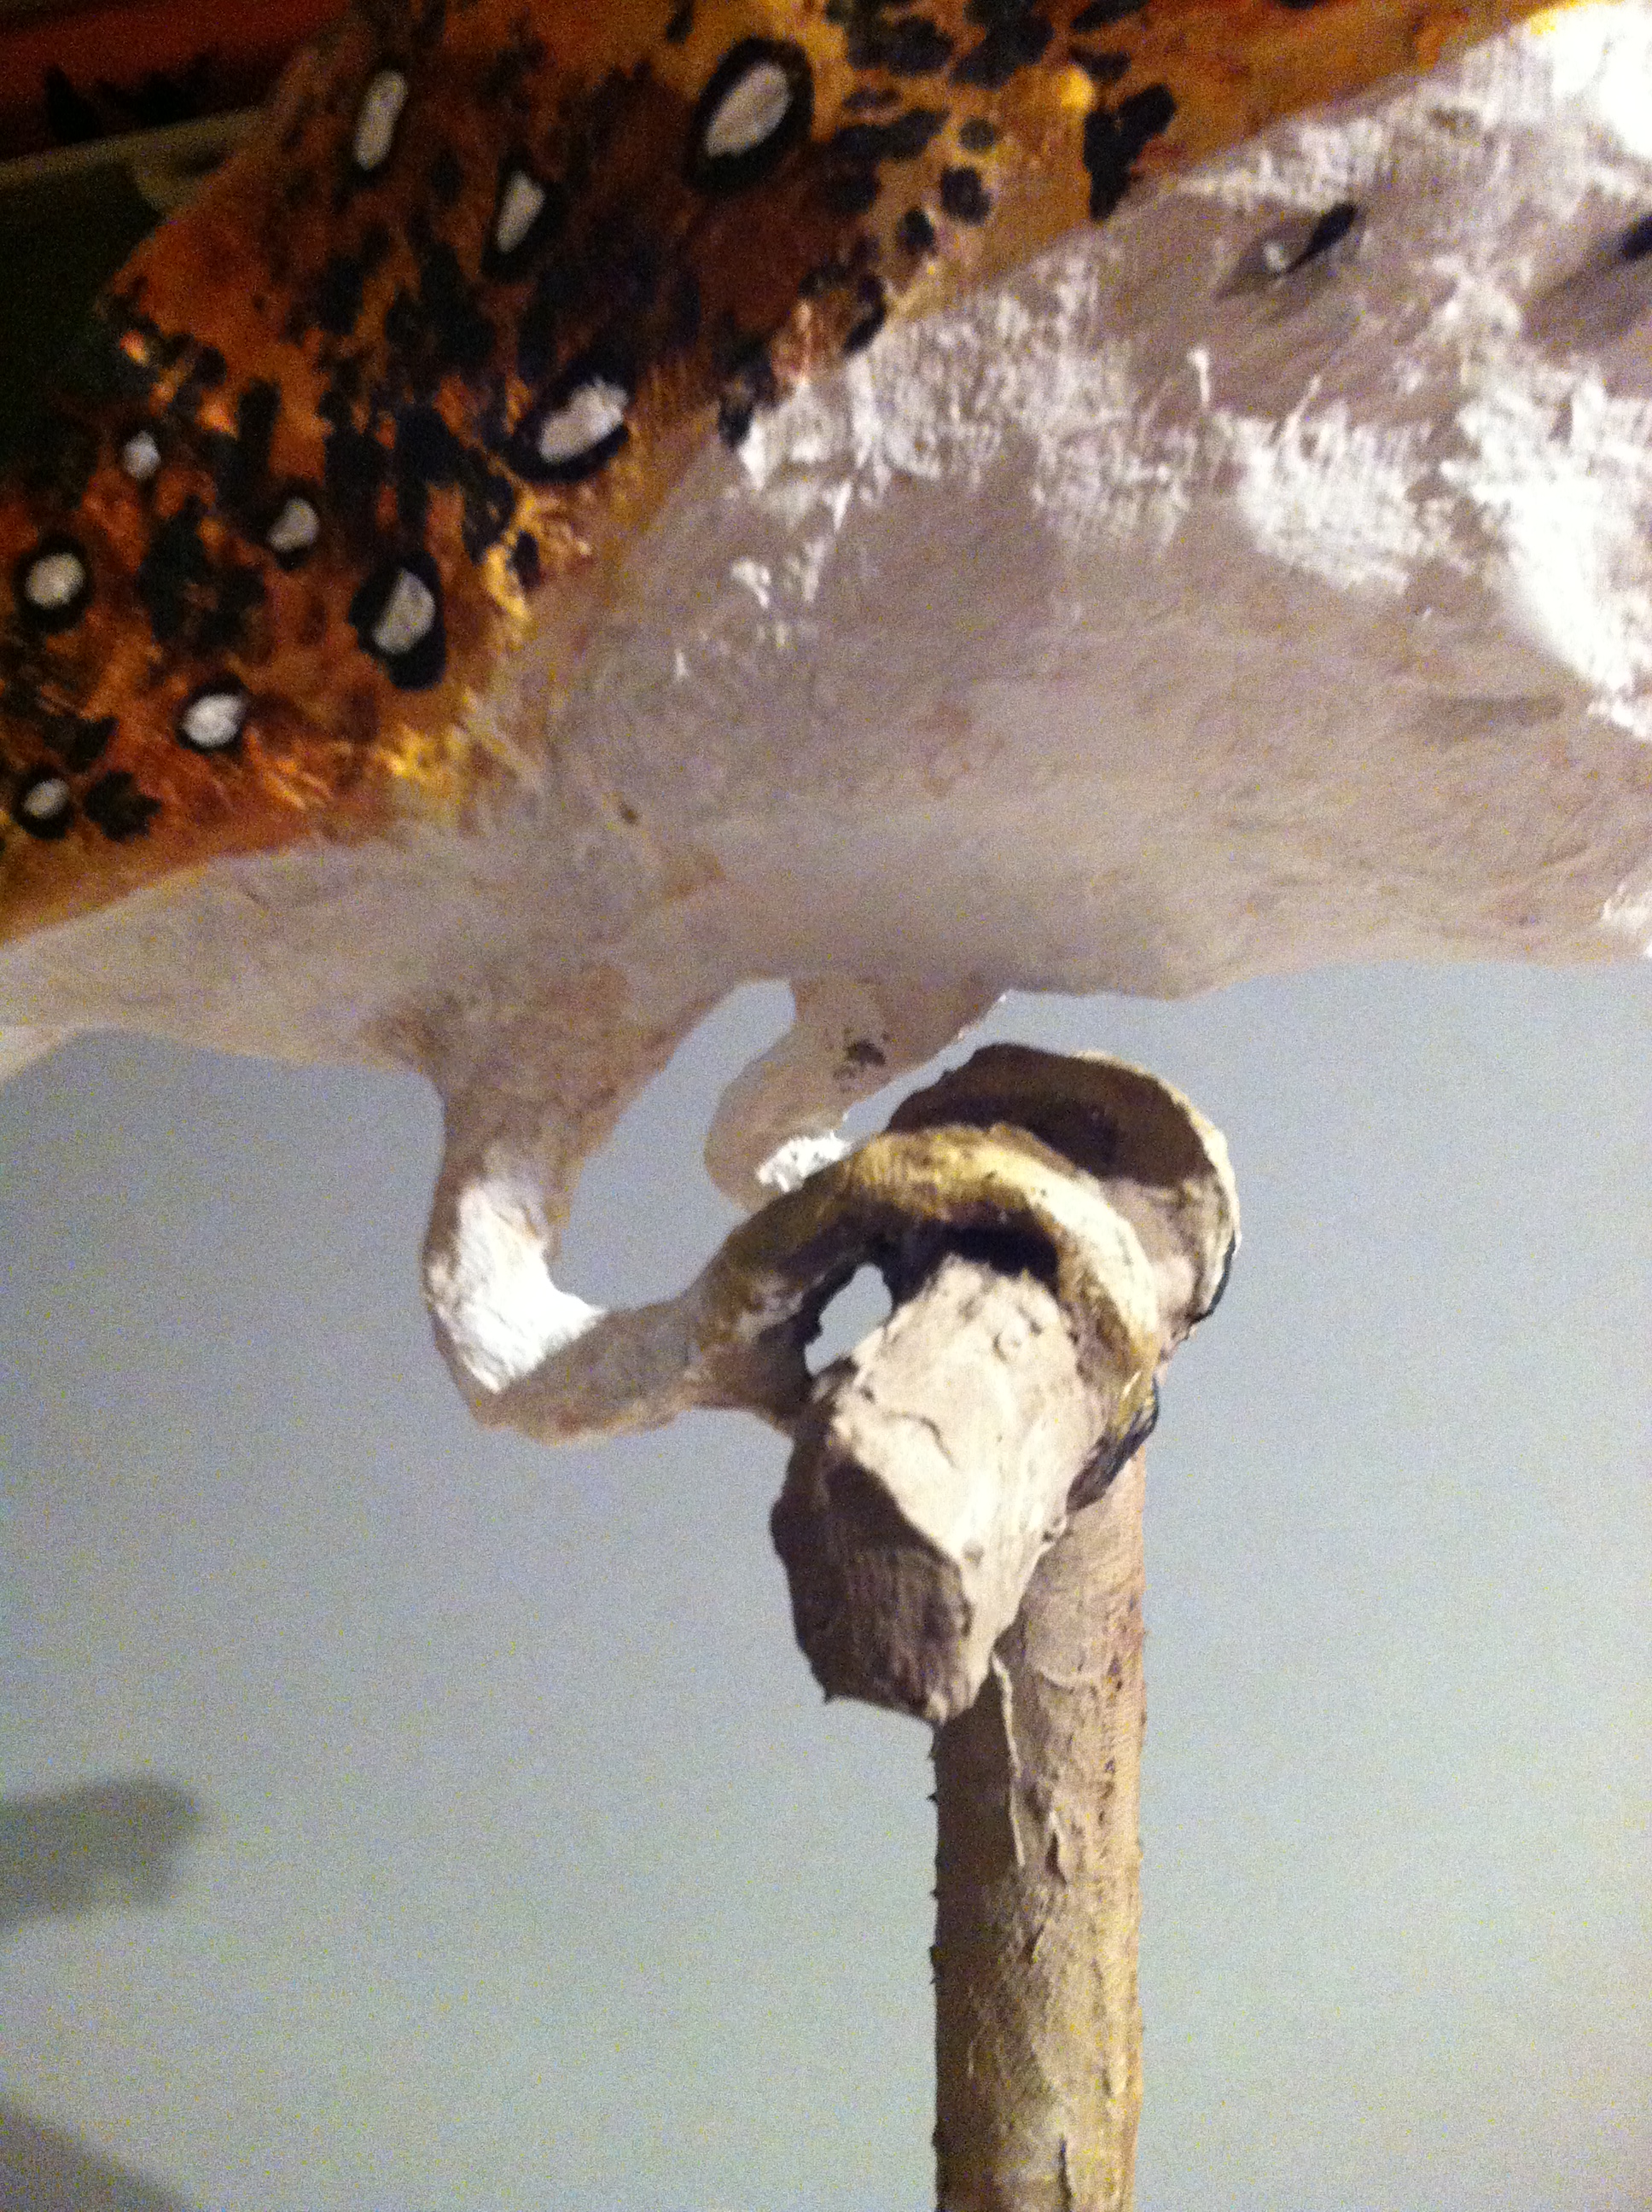
Once the plaster cured, I cut it apart and took off the clay, which I put back in the bag to reconstitute for later. Then I got some heavy gauge wire to make the legs. I think it’s 14 gauge steel wire. I kept the cardboard chunks so I’d have something to tape the wire to. I used more plaster gauze to attach the two halves of the owl shell.
When that cured, I tore up pieces of paper towel and paper mached over the plaster. I used a little white glue with the flour and water, as Jonni Good, the artist in the above link recommends. (Paper towel is much better than newsprint. I found it very easy to work with.)
The part I was really looking forward to was using Jonni Good’s air-dry paper clay recipe. She has the recipe on her website. It calls for joint compound, toiled paper, water, flour, mineral oil and glue. I was so excited. It looked like the perfect finishing material. I must have done something wrong though, because my stuff didn’t turn out well. It was watery and clumpy and it was hard to get it to spread smoothly. Also, it hardened like cement, and was very difficult to sand. So, that was a bit of a disappointment.
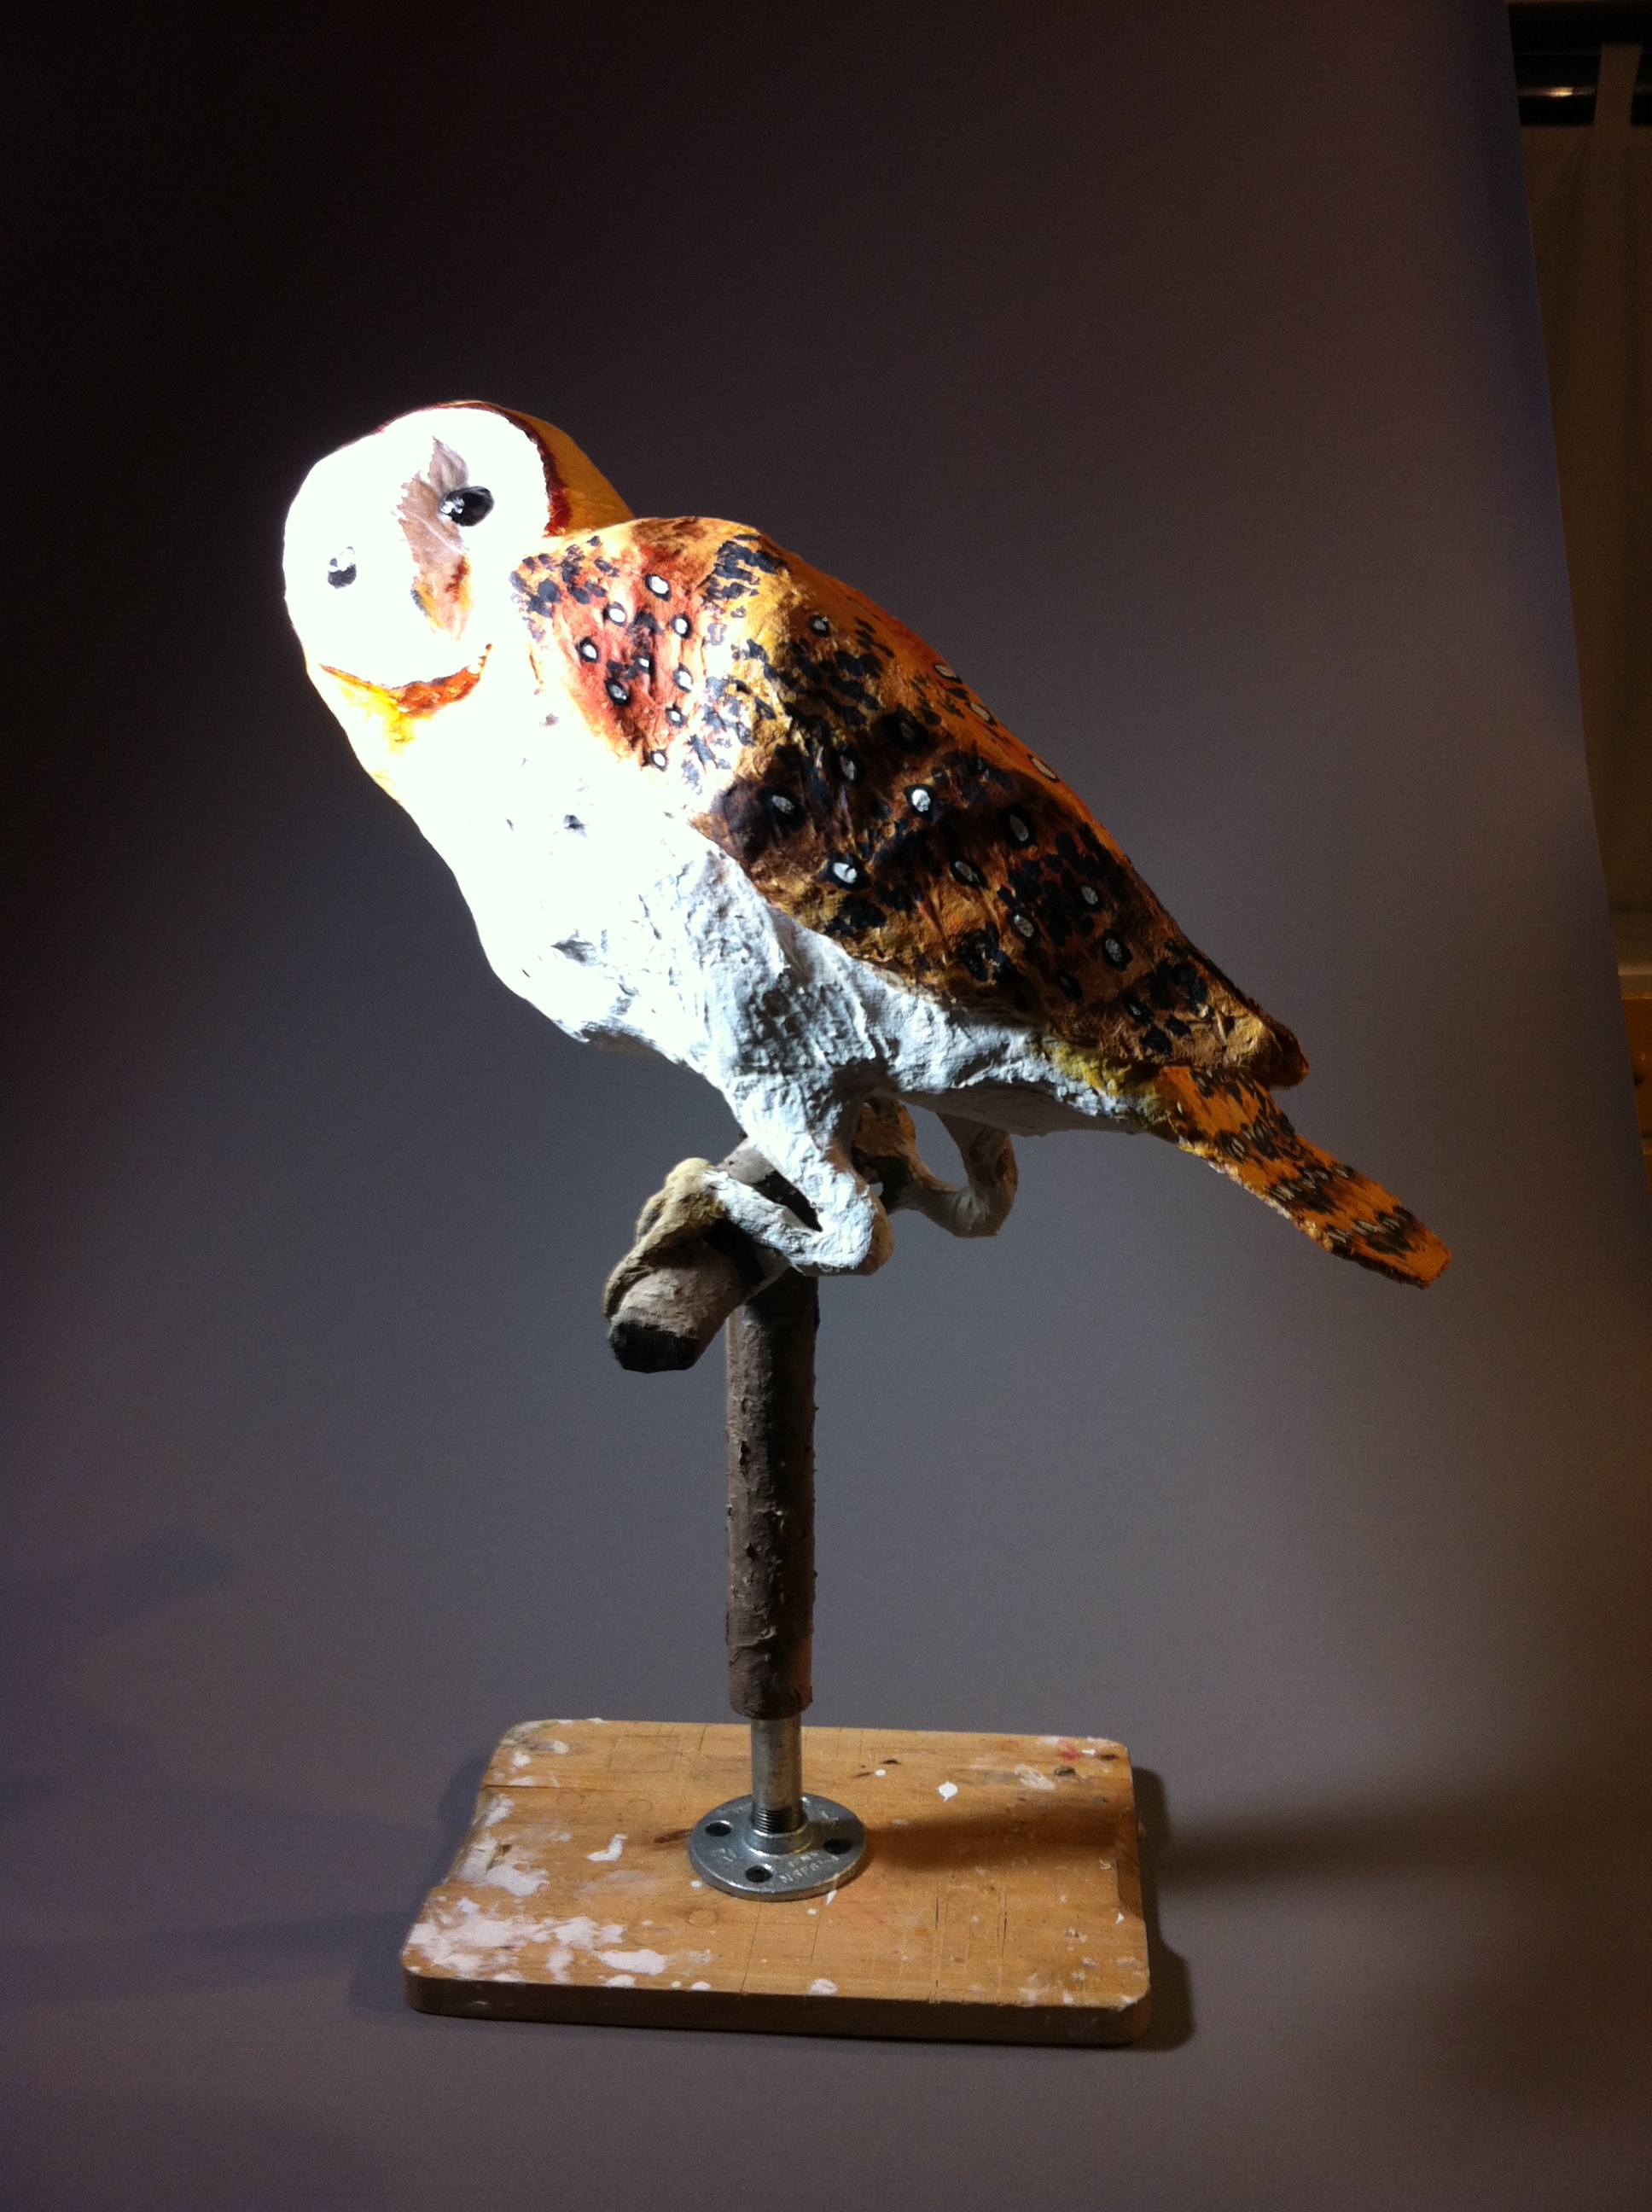
After that came the painting. This turned out to be the hardest part, though I thought it would be the easiest. Gesso was easy. The rest wasn’t. I probably spent two or three weeks just painting and repainting and repainting. I wanted that luminous warm golden-orange glow that real barn owls have. They’re pure snowy white and touches of beige and on their backs they have feathers that are somehow both grey and orange, and no matter how many photos I used as reference, I couldn’t quite recreate it.
I also had a problem with the eyes. I wanted glass eyes, or resin eyes, but it became apparent to me that cutting the owl open to set them from the inside wasn’t going to happen. I made polymer clay eyes, but they were lumpy. Finally I made some out of paperclay, covered the head of the owl with a plastic bag ( to slow drying) and left it there for two weeks. When I came back, I painted the eyes black, painted white around it to blend in, then painted them gloss. I also hit the rest of the bird with a matte fixative. It didn’t make her as matte as I’d hoped, but it toned down the gloss a little.
1 comments
Just a random thought regarding the matte effect at the end. Ever tried using translucent powder over a gloss, to “matte” the surface? Maybe over a spray adhesive, or on damp matte fixative… Not sure how much it would muck with texture. Just popped into my head.