
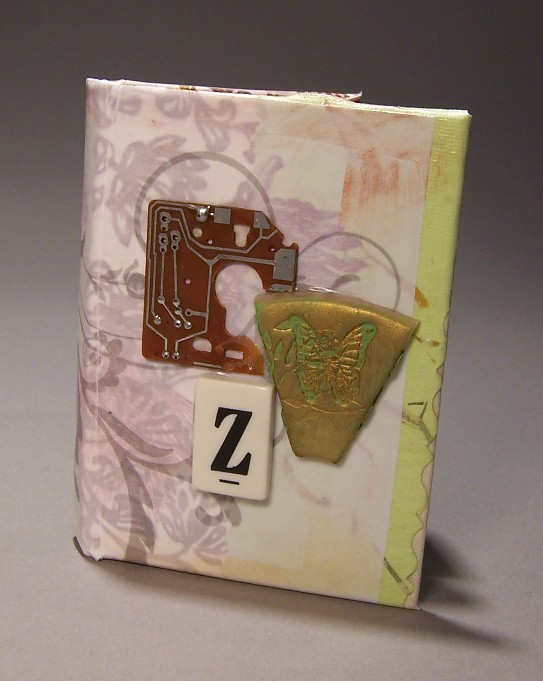
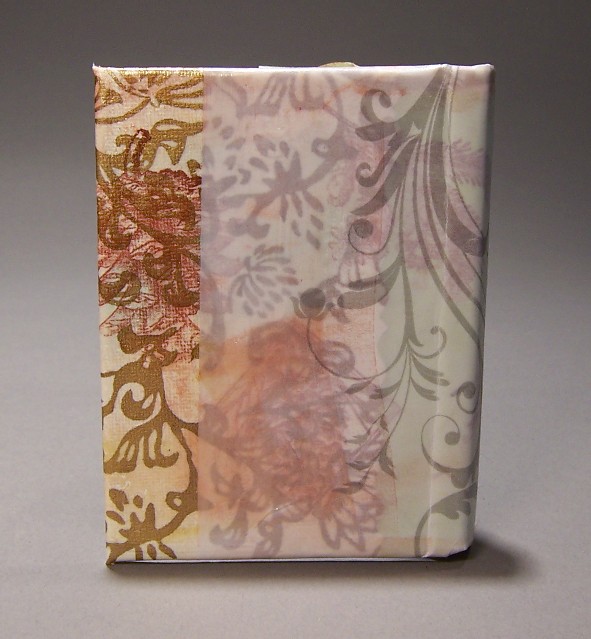
I did this book right after the celadon book, so I wanted something that didn’t have any cloth except for the muslin base. I had some handmade paper, and I used decorative paper-shaping scissors to cut the Victorian frame edge. The scissors cut very poorly, and were difficult to use. I layered the gold and white floral paper on top of the pale green paper and then the others on top of it, making stripes. I have a drawer of rubber stamps that I hardly use, so I took brown pigment ink and used four stamps with a pine theme. You can see the top of a pine cone underneath the circuit chip on the cover.Â
After I’d stamped it, I remembered again why I so rarely use rubber stamps on paper. It looked too simple, too clean. I rubbed mica pigments in brown and gold over it, and the iridescence helped, but it still needed a little abstraction. We’d just been to a wedding, and the bride and groom’s invitations had a lovely sheet of printed vellum in it. Once I put that on top, it had the look I wanted. It just needed some 3-D embellishments for a focal point on the cover.
By now I’d already decided who I was making this book for, so the circuit chip was my first choice. Not only did it have an interesting shape, but it was a coordinating color. I just had to rip some of the wires off. I had made the wedge shaped polymer clay embellishment a few months ago, using a sheet of translucent clay I’d rolled out, stamped, and then cut with an apple corer. Some of the other wedges are on the Gold Japanese book, also posted on this site. I bought the letter tiles from a secondhand game. I’d hoped there was an X, but there wasn’t so Z was my second choice. Z seems like the letter of the strange, of the end, of the unknown.
With this book I also had some technical issues. First of all, the vellum and the sheets of handmade paper made the cover so thick that I could barely bend it. I decided to forego the strip of matboard that I usually use to support the spine. It often feels as though when I make books, as when I write books, that I’m reinventing the process from scratch every time, no matter how many times I’ve done it. The hardest part for me is trimming the cover so that it fits around the head and foot of the spine. If I cut it too close, the edges and underside of the cover material show. If I cut it too wide, I can’t fit the cover material under the spine.Â
I tried to take a shortcut with this book and the celadon book, and found out that it wasn’t one I could take. Gluing and cutting the end papers is the second hardest part of making a book like this. One shortcut is to not put protective wax paper sheets between the sewn signatures and the cover material while I’m gluing the edges of the cover down to the boards. This ends up gluing the first and last sheet of the book block to the cover, which functions as end papers. I don’t like this because the end papers can really add a lot to the overall design of the book. For this book and the celadon book, I decided to cut a half sheet of paper, covering only the board. The advantage of this was that since the paper was smaller, I had a wider selection to choose from (some of my finer papers are origami or paper designed for scrapbooking that are in smaller sizes.) This looked terrible, as the linen tape and mull were visible at the edge of the end paper. I had to cut new paper and put new endpapers in.
To cut the endpapers, I fold a sheet over, jam it in as close as I can to the inside corner, and then use a pencil to trace around the edges of the book block. Then I cut it out and adhere it. I learned with this book that acrylic medium is much better for adhering paper to paper (in this instance) than is polyvinyl glue.  I’ve used paste before, but normally I only use paste to glue the mull to the boards, and I’d thrown out the rest of my batch assuming I wouldn’t use it before it went bad.