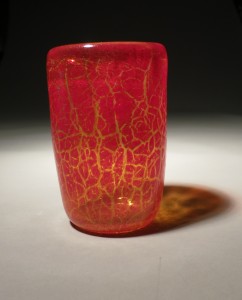
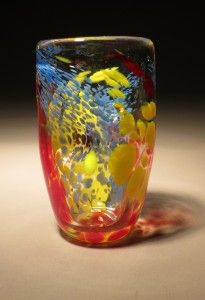
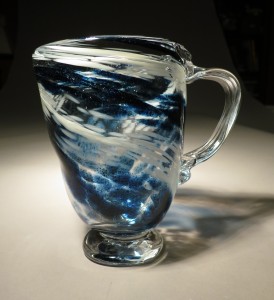
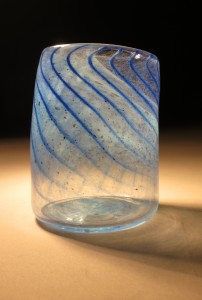
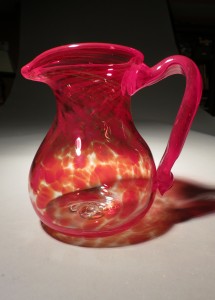
July 27th, 2010 by admin

The paperweight class I’d signed up for at the Mesa Art Center, though cancelled three times in a row, went off fine the fourth time I registered for it, and I was able to make three paperweights. We were having trouble with the crucible kiln not clicking shut properly, and the glass got too cool, which is why they are such a hefty size (four inches in diameter).
This was my first one. Since I hadn’t done any hotshop for almost a year, I decided to make it simple and simply roll the first gather of glass in the mixed frit. Ironically, the simplest technique makes the most interesting, most complex paperweight.
Posted in Glass | No Comments
July 15th, 2010 by admin

Here’s another thing that people do when they make fused glass pieces; they make slumped bowls and trays. I had less enthusiasm for this, because I’m a potter, and pottery makes functional, sturdy, dishwasher-safe pieces that don’t cost $60 in raw materials.
There’s a flaw in one of the bands because I tried to cut it while sitting down. Apparently, you can’t do that. I ruined a lot of glass before someone told me. After I stood up, my cuts came out right. I was so impressed by how much better it was that I got some bed risers and raised my studio table at home by seven inches or so so that I can work on my art pieces while standing.
You might think a tray like this has little function, but I intend to give it to my sister to replace a fruit bowl I’d made for her years ago that got broken. It’s good to keep fruit slightly elevated, and exposed to air, so you don’t get those moldy spots underneath it.
Posted in Glass | No Comments
July 12th, 2010 by admin

This is what most people do with dichroic glass; they cut pieces and assemble them onto a plain background, then cap them to make pretty doohickeys. I’ve seen a lot of jewelry like this. In fact, almost all glass jewelry looks something like this. I admit, it’s amazingly pretty, but it’s so easy that it feels a little cheap to make this and call it art.
I have not yet drilled holes or glued a finding to make this into a keychain. I’m not sure if I will.
Posted in Glass | No Comments
July 9th, 2010 by admin

Here’s what I found about the iridescent glass. When you put dichro on top of it and fuse it, it doesn’t fuse completely because of the iridescence. This worked in that I was able to put masking tape over it and feel where the outline of the body and thorax were so that I could cut the legs. But for these, I used plain black glass, and they melted flush. I tried using clear packing tape as a mask, but it didn’t work because the texture is more like plastic than cloth.
The instructor suggested using lines of glue for the mica pigments. That’s what normal people do when they use mica. Well, I’d tried that with elmer’s glue and it came out blobby, but another idea was to thin it with water, then put it through a jacquard bottle with a fine tip. That’s what I did here. The glue gives a much different texture to the mica pigments.
Belatedly, I was informed that if you have an iridescent or otherwise metallic background, you need to cut the capping glass larger. Yeah, a little late for the top left beetle.
Posted in Glass | No Comments
July 6th, 2010 by admin

So now I figured out that you have to fuse the dichro to the background glass before you cap it. Here’s what I also found–when you have iridescent glass in the background, the dichro doesn’t fuse completely flat. That means that even when you fuse it before capping it, you get blisters of air trapped in there.
But I had a new plan. I decided that having legs behind the bodies wasn’t good enough. I also wanted to have some details on top of the bodies, stripes and thorax lines. So after they’d been fused, I put masking tape over it and cut out the mask for the legs and antennae, so I could have gold lines on top of the bodies. Here’s the result.
Posted in Glass | No Comments